Safety & Protection in Organic Lab Work
In beginner organic lab work, safety starts before the first reagent is opened. The goal is not to memorize every rule at once, but to recognize hazards early, know when not to proceed, and avoid turning small mistakes into larger problems.
The first time you walk into an unfamiliar organic lab, the biggest risks usually do not begin with a dramatic accident. They begin earlier, in smaller moments: reaching for a bottle before you are sure what it is, assuming a piece of glassware is fine because it has not broken yet, or deciding to “just start” and sort the details out later.
This page is a practical starting point for new students. It helps you notice the most common early risks in organic lab work, make safer decisions before you begin, and recognize the moments when you should stop and ask instead of guessing.
What this page helps you do
- get ready before you enter the lab
- recognize the most common early hazards in organic lab work
- avoid unsafe habits before they become routine
- know when to stop and ask instead of guessing
- leave the bench in a safer, clearer state for yourself and others
Before You Enter the Lab
Many beginners think lab safety begins when the experiment begins. In reality, some of the most preventable mistakes happen before any reagent is opened. What you wear, what you bring to the bench, and how clearly you understand the next step all shape how safely you work once the experiment starts.
A poor start rarely looks dramatic. More often, it looks ordinary: the wrong shoes, loose sleeves near glassware, a bench crowded with unnecessary items, or a step begun without really understanding it. These are not small details. They are often the conditions that lead to spills, broken glassware, contamination, and avoidable confusion.
Good preparation is not separate from lab work. It is the beginning of lab work.
Dress for lab before lab starts
Basic personal protective equipment should be in place before you begin. Eye protection, a lab coat, suitable clothing, and closed shoes are not extra details to sort out once you reach the bench. They are part of arriving ready to work.
Loose hair, wide sleeves, dangling jewelry, and unstable clothing create problems because they move when you move. They can catch on clamps, brush contaminated surfaces, pass too close to hot equipment, or make careful handling less controlled. A beginner may feel that these details are minor because nothing has gone wrong yet. That is exactly why they are easy to underestimate.
Clothing rules are not there for appearance or formality. They are your first layer of protection against splashes, heat, sharp edges, and accidental contact with chemicals or equipment. They also make it easier to move deliberately and work without introducing new risks.
Before you begin, make sure you are:
- wearing eye protection properly
- wearing a lab coat that fits and closes well
- wearing closed shoes
- tying back long hair
- removing or securing loose jewelry, sleeves, or anything that can catch on equipment
Bring only what belongs at the bench
Keep bags, drinks, food, and unrelated personal items away from the work area. At the bench, you should have only what supports the task: your notebook, a pen, the relevant instructions, and the materials you are actually using.
A crowded bench is not just untidy. It is harder to read, harder to monitor, and easier to make mistakes in. Labels are easier to miss. Clean and used items are easier to confuse. Glassware is easier to knock over. Small signs that something is wrong—an unstable clamp, the wrong adapter, a rising liquid level, a misplaced stopper—become easier to miss when the bench is full of things that do not belong there.
Beginners often treat clutter as a housekeeping problem. It is more than that. Clutter competes for your attention. It reduces working space, makes the setup harder to follow, and increases the chance of careless movements.
A clear bench makes safe work easier. You can see the setup more clearly, check labels more quickly, and notice problems before they turn into accidents.
Remove anything that:
- is unrelated to the current operation
- blocks your view of the setup, labels, or liquid levels
- reduces the space you need to work safely
- could be damaged by chemicals, heat, or water
- makes the bench harder to understand at a glance
Do not begin when you only half-understand the task
Before you start a step, you should know what operation you are about to do, what materials are involved, what the setup is meant to achieve, and who to ask if something is unclear.
Copying someone else’s movements is not the same as understanding the step. A beginner may be able to repeat the visible action while missing the reason behind it: why the glassware must be dry, why addition has to be slow, why a joint must be secured, why cooling water runs in one direction rather than the other, or why a system must stay open or vented. Once that understanding is missing, even a routine step becomes less controlled.
Do not begin a task because you assume it will make sense halfway through. If you cannot explain the purpose of the step before you start, you are not ready to carry it out independently yet. Asking before you begin is not hesitation. It is part of working safely.
Stop and ask if:
- you cannot explain what the step is supposed to accomplish
- you do not know why a reagent, solvent, or piece of equipment is being used
- you are following someone else’s motions without understanding the reason
- you are unsure what must stay dry, vented, cooled, supported, or unclogged
- you are about to begin because you think it will make sense once you are already doing it
A safe start is a controlled start
Many later problems begin here: poor clothing choices, unnecessary clutter, and unclear thinking at the bench. These may not look like major safety failures at first, but they often sit behind spills, breakage, poor setup decisions, and preventable mistakes.
Before you open a bottle, assemble glassware, or turn on heating, make sure three things are true:
- you are dressed to work safely
- your bench is clear enough to read and monitor
- you can explain the next step in plain language
That is not extra caution. It is the start of competent lab work.
What to Locate as Soon as You Walk In
A new student often walks into the lab thinking first about glassware, reagents, or how quickly the experiment can begin. That is understandable, but it is the wrong priority. Before you touch anything, you should know how to read the room around you. Safe lab work depends not only on what you do at the bench, but also on how quickly you can locate the places, equipment, and people that matter when a decision has to be made.
You do not need to memorize every corner of the room. You do need to know where the important response points are, where routine safety decisions happen, and who to go to when something is unclear. If you do not know those things yet, you are not fully oriented to the lab.
Find the emergency basics first
As soon as you enter the lab, identify the eyewash station and safety shower, the main exits, and the fire-response equipment used in that space. These are the first locations you should notice, not the last ones you discover after something has gone wrong.
In an emergency, people do not usually become calmer, sharper, and more observant. They become faster, less precise, and more dependent on what they already noticed earlier. That is why emergency equipment should be located before you begin work, not during the moment you suddenly need it.
You do not need a perfect mental map of the room. But you should be able to answer a few basic questions immediately: Where do you go if something gets in your eyes? Where is the nearest exit? Where is the fire equipment for this room? If you cannot answer those questions yet, stop and orient yourself before you start.
Know where routine safety decisions happen
You should also know where hood work is done, where chemical waste is handled, where broken glass is disposed of, and how sharps are separated from other waste. In many organic labs, a large part of day-to-day safety depends on making correct routine decisions, not just on responding well to emergencies.
This matters because many beginner mistakes do not begin with a dramatic event. They begin with a small decision made too casually: carrying something to the wrong disposal area, leaving waste in the wrong place, putting broken glass where it does not belong, or starting a step without knowing whether it must be done under local exhaust and fume control.
Routine safety is still safety. If you do not know where normal decisions are made in that room, you are more likely to improvise when you should be following a clear system.
What this usually looks like at the bench:
You know the lab has waste containers, but you do not actually know where your material is supposed to go. Or you know the room has a hood, but you are still not sure whether this step belongs in it. Those are not minor uncertainties. They are signs that you are not ready to begin that part of the work yet.
Know who is responsible before anything goes wrong
Before the session really begins, identify the TA, instructor, senior student, or supervisor responsible for that lab period or that part of the room. Know who you are expected to ask, and do not wait until something has already gone wrong to figure it out.
A common beginner mistake is to think that asking early makes them look unprepared. In reality, asking early is often what prevents a small uncertainty from becoming a real problem. The student who asks before starting a questionable step is usually easier to help than the student who waits until there is a spill, a cracked joint, mixed waste, or a setup that no longer makes sense.
Knowing who is responsible is not just about emergencies. It is part of working in a controlled way. If you are unsure who to ask in that room, then your first lab task is not the experiment. It is getting oriented.
What to Check Before You Touch Anything
In beginner lab work, safe action depends on judgment that happens before your hands start moving. Many mistakes begin when students pick up a container, connect glassware, move a clamp, or start handling equipment before they have checked the situation properly.
At the bench, it is easy to confuse movement with progress. It can feel productive to start pouring, assembling, uncapping, or adjusting things right away. But in early lab work, the safest student is often the one who pauses first, looks carefully, and makes sense of the situation before touching anything.
Before you begin a step, you should know what you are looking at, what the step is supposed to achieve, what materials are involved, and whether anything already in front of you creates a hazard or uncertainty.
Check whether you understand the step in front of you
Before you start, ask yourself what this step is meant to do, what materials or apparatus it involves, and what conditions matter for doing it safely. You do not need to know everything about the experiment at once, but you do need to understand the purpose of the step you are about to carry out.
A common beginner mistake is to recognize the motion without understanding the reason. You may know that you are supposed to transfer a liquid, attach a condenser, start stirring, or place a flask in the hood. But if you do not know why that step is happening, you are much more likely to miss what matters: whether the glassware must be dry, whether vapors are a concern, whether the system must stay open, or whether the step should be done slowly.
Check this first:
- Do you know the purpose of this step?
- Do you know which reagents and apparatus are involved?
- Do you know whether this belongs at the bench or under local exhaust and fume control?
- Do you know what this step is expected to produce, change, or separate?
- Do you know what waste this step is likely to produce?
If you cannot explain the step in plain language before you begin, that is a sign to stop and ask before your hands start moving.
Check labels, containers, and identities
Never work from an unknown or poorly labeled container. Clear liquids are not interchangeable just because they look alike. A temporary beaker, flask, or vial without a reliable label is not a small inconvenience. It is a warning sign.
In beginner labs, one of the most dangerous assumptions is: I probably know what this is. That kind of guess feels small in the moment, but it can lead to the wrong reagent being added, the wrong solvent being used, the wrong waste decision being made, or the wrong material being heated.
What this usually looks like at the bench:
There is a clear liquid in a small beaker with no reliable label, and you think you probably know what it is. That is exactly the point where you should stop. Guessing about identity is not a safe way to continue.
Before using any container, check that:
- the label is present and readable
- the identity matches the step you are about to perform
- the container does not appear to be a temporary holding vessel with uncertain contents
- you are not relying on appearance alone to decide what something is
If the identity is uncertain, the correct action is not to continue carefully. The correct action is to stop and clarify.
Check whether the glassware and setup look safe
Look at the glassware before you assume it is ready to use. Check for visible cracks, chips, damaged edges, awkward stress on joints, poor clamp support, uneven positioning, or apparatus placed too close to the edge of the bench.
A common beginner mistake is to think glassware is safe as long as it has not visibly failed yet. In reality, many problems begin when the setup already looks strained, unstable, or damaged before any heating, stirring, or vacuum is applied.
Do not treat a questionable setup as something that can be tested by turning it on. Heating, stirring, or vacuum should not be used to find out whether a setup was safe. They should only be applied after the setup already looks sound.
Also check whether anything in front of you is already active or in use. A flask may still be hot. A line may already be under vacuum. Cooling water may already be running. A piece of apparatus may belong to someone else’s setup rather than yours. Do not assume that touching, moving, or adjusting something is harmless just because it looks routine.
Before you continue, check that:
- the glassware is not visibly chipped or cracked
- joints are not under obvious strain
- clamps and supports are placed sensibly
- the setup is stable and not crowded near the bench edge
- nothing appears to be hot, pressurized, under vacuum, or already in operation unless you understand its status
For more on damaged or stressed glassware, see Glass Handling Safety.
Check whether you already know the waste path
Know where the material will go after use. Will it become liquid chemical waste, contaminated solid waste, broken glass, sharps, or ordinary trash? If you do not know the answer yet, that is a sign to pause before beginning.
Many beginners treat waste as something to think about at the end of the step. That is too late. Waste handling begins earlier than disposal. It begins when you decide whether you understand what the material is, what it will become, and where it belongs afterward.
If you do not know where the material goes after use, you are not ready to start the step that creates it.
Stop and ask if:
- you do not know where the waste goes
- you plan to “figure it out later”
- the material no longer clearly fits a waste stream you understand
- you are unsure whether something belongs in chemical waste, broken glass, sharps, or trash
A careful check is part of doing the step correctly
For beginners, safety often depends less on fast reactions and more on good pauses. Looking first, checking first, and asking first are not signs that you are behind. They are part of carrying out the work properly.
Before you touch a container, adjust a setup, or begin a transfer, make sure four things are true:
- you understand what the step is supposed to do
- you know what the container or material actually is
- the glassware and setup look safe before any action is applied
- you already know what will happen to the material afterward
That is not hesitation. That is controlled lab work.
Core Safety Habits During Organic Lab Work
Safety in organic lab work is not only about unusual hazards or emergency situations. It also depends on ordinary habits repeated throughout the session. In beginner labs, many unsafe situations do not begin with one dramatic mistake. They grow out of small decisions that make the bench less readable, the setup less controlled, and the work less deliberate.
That is why daily safety habits matter. They shape what kind of lab environment you are creating minute by minute. A bench that stays clear, a setup that stays attended, and personal protective equipment that is used correctly throughout the session all reduce the chance that confusion turns into an avoidable problem.
Keep the bench readable
Keep only what you need in the active work area. Avoid building up a collection of unlabeled temporary containers, unused tools, tangled tubing, paper scraps, misplaced glassware, or items left over from an earlier step. A readable bench is easier to monitor, easier to understand, and easier to troubleshoot when something starts to go wrong.
This matters because clutter does more than look messy. It hides labels, narrows working space, makes spills harder to notice, and increases the chance that you reach for the wrong item at the wrong time. When the bench becomes crowded, small problems are harder to spot early.
A common beginner mistake is to assume that a bench can be cleaned up later, after the “important part” of the step is finished. In practice, the state of the bench is already part of the step. If the workspace is hard to read, the work itself becomes harder to control.
Keep the active area clear enough that you can quickly see:
- which containers are in current use
- which items are clean, used, or contaminated
- where the main setup begins and ends
- whether anything has been misplaced, left open, or left unlabeled
Treat PPE as part of working, not as decoration
Personal protective equipment only helps when it is used properly throughout the session. Lab hand protection does not stay clean forever. Eye protection matters during the whole period of active work, not only during moments that feel obviously risky. A lab coat protects only when it is worn as part of working, not half-removed when things seem routine.
A common beginner mistake is to treat PPE as if putting it on completes the safety step. It does not. The more important question is whether you are still using it correctly ten minutes later.
This is especially important with gloves. A glove that has touched solvent bottles, balances, bench surfaces, shared pens, phones, keyboards, or door handles is no longer just a glove. It has become a contamination route. Wearing gloves does not make careless contact acceptable, and contaminated gloves should not be treated as clean hands.
During active work, keep asking:
- are your gloves still appropriate for what you are touching now?
- are you spreading contamination from the bench to shared surfaces?
- is your eye protection still on and positioned correctly?
- are you using PPE to support careful work, or using it as an excuse to work carelessly?
Do not leave uncertain work unattended
Heating, stirring, solvent evaporation, active cooling, and unstable setups all deserve attention, especially when you do not fully trust the setup yet. Walking away from something you are already unsure about is not a neutral choice. It increases the chance that a small problem develops without being noticed early.
Beginners sometimes assume that leaving something “for just a minute” is harmless if the setup is already running. But if you are already uncertain about the clamp support, the heating level, the boiling behavior, the tubing, the water flow, or the position of the glassware, that uncertainty is the reason to stay, not the reason to leave.
Do not use absence as a way to avoid making a safety decision. If you are unsure whether a setup can be safely left alone, the safest assumption is that it should not be.
Stop and ask if:
- you are about to leave work that you do not fully trust
- the apparatus already looks unstable, strained, or poorly supported
- heating, stirring, cooling, or solvent evaporation is active and you are unsure how stable the setup is
- you are relying on “it should be fine for a minute”
- you are stepping away because you do not know what else to do next
Respect shared space as a safety issue
Organic teaching labs are shared environments. What you leave behind affects other people’s work, not only your own. Return shared tools properly. Put caps, clamps, and common equipment back where they belong. Do not leave mystery containers behind. Do not leave glassware in a condition that forces the next person to guess whether it is clean, contaminated, hot, broken, or still in use.
A common beginner mistake is to treat shared-space discipline as courtesy rather than safety. In reality, hidden confusion becomes someone else’s risk. An unlabeled flask, a dirty spatula, a used syringe left on the bench, or a container with unclear contents all create uncertainty for the next person who sees them.
Shared-space safety means leaving the room more readable, not less readable, after you use it.
Before you step away from a shared area, check that:
- tools have been returned properly
- no unlabeled or unexplained containers are left behind
- used items are not mixed with clean shared items
- anything still in use is clearly identifiable
- the next person will not have to guess what your setup or materials were
Small habits become lab conditions
During organic lab work, safety often depends less on one dramatic decision than on the condition your habits create over time. A readable bench, correctly used PPE, attended work, and disciplined shared-space behavior all make the lab easier to understand and easier to control.
These habits may look ordinary, but they are not minor. They are part of how safe work stays safe.
Before moving on, ask yourself:
- is your bench still readable
- is your PPE still being used correctly
- is any active work being left without proper attention
- have you left the shared space clearer or more confusing than before
That is not extra neatness or unnecessary caution. It is part of competent lab work.
Common Early Hazards Beginners Meet
New students do not need every hazard category at once. They do need a clear view of the risks they are most likely to meet early, especially the ones that are easy to underestimate because they appear routine.
The main beginner problem is often not failure to hear that something is dangerous. It is failure to recognize that ordinary-looking lab work is still hazard-bearing lab work. A common solvent, a familiar bottle, a small splash, a warm-looking flask, or a routine vacuum setup can all be misread as less serious than they really are.
Flammables in routine organic lab work
Many common organic solvents are flammable. Because they appear so often in teaching labs, beginners sometimes start to treat them like ordinary liquids. That is a mistake. Solvent hazard depends not only on the bottle label, but also on how the solvent is being handled, where vapors may go, how open the operation is, what the ventilation is like, and whether ignition sources are nearby.
A small volume is still a flammable material. A familiar solvent is still a flammable chemical. Routine solvent work is still chemical work. Familiarity does not remove hazard.
What matters in practice is not only whether a solvent is present, but whether it is being poured, evaporated, heated, transferred, or left open in the wrong place. Those routine choices shape risk. For more on storage and handling context, see Storage for Flammables and Corrosives and Local Exhaust and Fume Control.
Corrosives and contact hazards
Acids, bases, and other irritating materials can cause harm through splashes, skin contact, eye exposure, and contaminated surfaces. In beginner lab work, the problem is often not one dramatic accident. It is a chain of smaller careless moments: poor transfer technique, contaminated gloves, touching shared surfaces, or underestimating splash risk because the amount looks small.
Contact hazards spread easily when students stop paying attention to where contamination has gone. A glove that has touched a contaminated bottle, bench surface, or transfer area can quickly carry that contamination somewhere else.
Do not judge contact hazard only by whether something feels severe in the moment. Small exposures still matter, and poor habits often spread the problem beyond the original step.
Sharps, broken glass, and small cuts
Needles, blades, capillaries, chipped glass, and broken apparatus all deserve careful handling. These hazards are easy to underestimate because the resulting injury may look minor at first. In a chemical environment, however, a cut is not only a physical injury. It can also become a contamination problem.
Damaged glassware should not be treated as acceptable just because it still seems usable. A chipped edge, a crack, or a stressed piece of apparatus is already a warning sign. It should not need to fail completely before it is taken seriously.
Disposal matters here as well. Poor disposal of sharps or broken glass does not end the hazard. It passes it to the next person. See Glass Handling Safety and Chemical Waste and Sharps Disposal.
Hot glassware and hot surfaces
Hot glass often looks exactly like room-temperature glass. A flask that has just come off heat may appear harmless even when it is still hot enough to burn you. Hot plates, mantles, oil baths, and nearby metal surfaces also stay hot longer than many beginners expect.
Glass does not change appearance to warn you that it is hot. That is why appearance alone is not a safe guide.
What this usually looks like at the bench:
A flask is no longer on the heat source, so it looks “finished.” But that does not tell you anything reliable about temperature. Do not use looks alone to judge whether glassware is safe to touch.
Vacuum, pressure, and stressed glass
Vacuum work changes the consequences of glass failure. Glass that already looks damaged, poorly supported, badly clamped, or under stress becomes more serious once vacuum is applied. Vacuum assemblies should not be treated like ordinary room-pressure glassware.
Beginners sometimes think vacuum simply means “pulling air out.” In practice, it also means that existing weaknesses in the setup matter more. A strained joint, a chipped flask, or poor support is not something to test by switching the system on.
If a setup already looks questionable, do not test it by using it. Stop first and correct the problem or ask for help. In higher-risk cases, that may also require Explosion and Splash Protection.
Early hazards are often misread as normal work
Many early lab hazards are not hidden. They are misread because they appear familiar, small, or routine. A common solvent, a minor chip, a warm flask, a used needle, or a setup that is “probably fine” can all be underestimated when a student is trying to move too quickly.
Before continuing, ask yourself:
- are you treating a routine material as if it were harmless
- are you underestimating contact, heat, glass damage, or vacuum risk because nothing has failed yet
- are you assuming a setup is acceptable because it looks familiar
That is often where beginner safety judgment starts to improve: not by fearing everything, but by learning not to dismiss ordinary-looking hazards too early.
Waste Handling Without Guessing
Many students think about waste only when the experiment is nearly finished. But disposal decisions begin much earlier. If you start a step without knowing where the resulting material belongs, you are already setting yourself up to guess later.
Waste decisions begin before disposal time
Disposal is part of the procedure, not an afterthought. Thinking ahead about waste helps keep the whole workflow clearer and reduces the chance of rushed decisions at the end.
If you know a step will generate chemical waste, contaminated solids, broken glass, or sharps, you should already be thinking about the disposal path before that waste exists in front of you.
Common waste streams beginners should recognize
At a basic level, new students should be able to distinguish between liquid chemical waste, contaminated solid waste, broken glass, sharps, and ordinary non-contaminated trash. The details vary by lab, but the habit of recognizing that these are not interchangeable should begin early.
You do not need to memorize every local disposal rule at once. You do need to understand that these streams are separate for a reason, and that safe work becomes harder once waste handling turns into guesswork. See Chemical Waste and Sharps Disposal for the supporting equipment and logic behind these categories.
What to do when you are not sure
Do not pour first and explain later. Stop before disposal. Keep the material in a safe, labeled container if needed, and ask the responsible person.
Stop and ask if:
- you are deciding based on guessing
- the material no longer clearly fits the waste stream you expected
- you are relying on what someone nearby seems to be doing rather than on a confirmed decision
Waste clarity is part of safe work
Waste handling is not separate from the experiment. It is part of the experiment. If the step creates material you do not know how to place safely, then the step is not fully understood yet.
For beginners, one of the safest habits to build early is this: know the waste path before you create the waste.
When to Stop and Ask
One of the most useful safety skills in lab is learning to recognize the point where continuing is no longer the right response. In beginner lab work, that point often arrives before anything dramatic happens. The warning may be a strange smell, a change in boiling behavior, an unstable clamp, a crack in the glass, or simply the moment you realize that you no longer understand what the step is doing.
Many students assume that stopping means something has already gone seriously wrong. In practice, stopping early is often what prevents the situation from becoming serious. Good lab judgment is not only knowing how to continue. It is also knowing when not to.
Signs something is not under control
Pay attention when the apparatus, the materials, or the room start behaving in ways you did not expect. Unexpected smells, visible smoke or vapor, abnormal heating, sudden violent boiling, leaks, pressure build-up, wobbling apparatus, cracks, unusual sounds, or liquid appearing where it should not be all deserve immediate attention.
These signs matter because they usually mean that the setup, the conditions, or the handling is no longer behaving as intended. A common beginner mistake is to wait until the problem looks “serious enough” before reacting. You do not need proof of failure before you decide to stop. If the setup already looks wrong, sounds wrong, or behaves differently from what you expected, you already have a reason to pause.
If something changes suddenly, do not rush to fix it by instinct. First recognize that the situation is no longer routine.
Signs you are no longer working in control
Sometimes the warning sign is not the apparatus itself. It is you. You may not understand the next step, you may be copying someone else’s movements without understanding them, or you may feel tempted to “just try it” because you do not want to interrupt the flow of the session.
That kind of moment matters. In teaching labs, students often keep moving because they do not want to look slow, hesitant, or unprepared. But in lab work, uncertainty is not something to push through blindly. It is often the signal that you need to stop and clarify.
Other signs that you are no longer working in control include rushing, skipping checks you would normally make, ignoring a doubt because the room feels busy, or realizing that you are acting before you have actually thought through the step. When that happens, the safest response is not to keep going more confidently. It is to pause and ask.
Common hazard signs that should make you pause
Some warning signs are not changes in the apparatus. They are labels, pictograms, or room markings that tell you the material, the step, or the space needs to be handled in a more controlled way.
If you see one of these and do not understand what it means for handling, ventilation, exposure, or disposal, stop and ask before continuing.
| Sign | Name | What it should make you think about | Stop and ask if… |
|---|---|---|---|
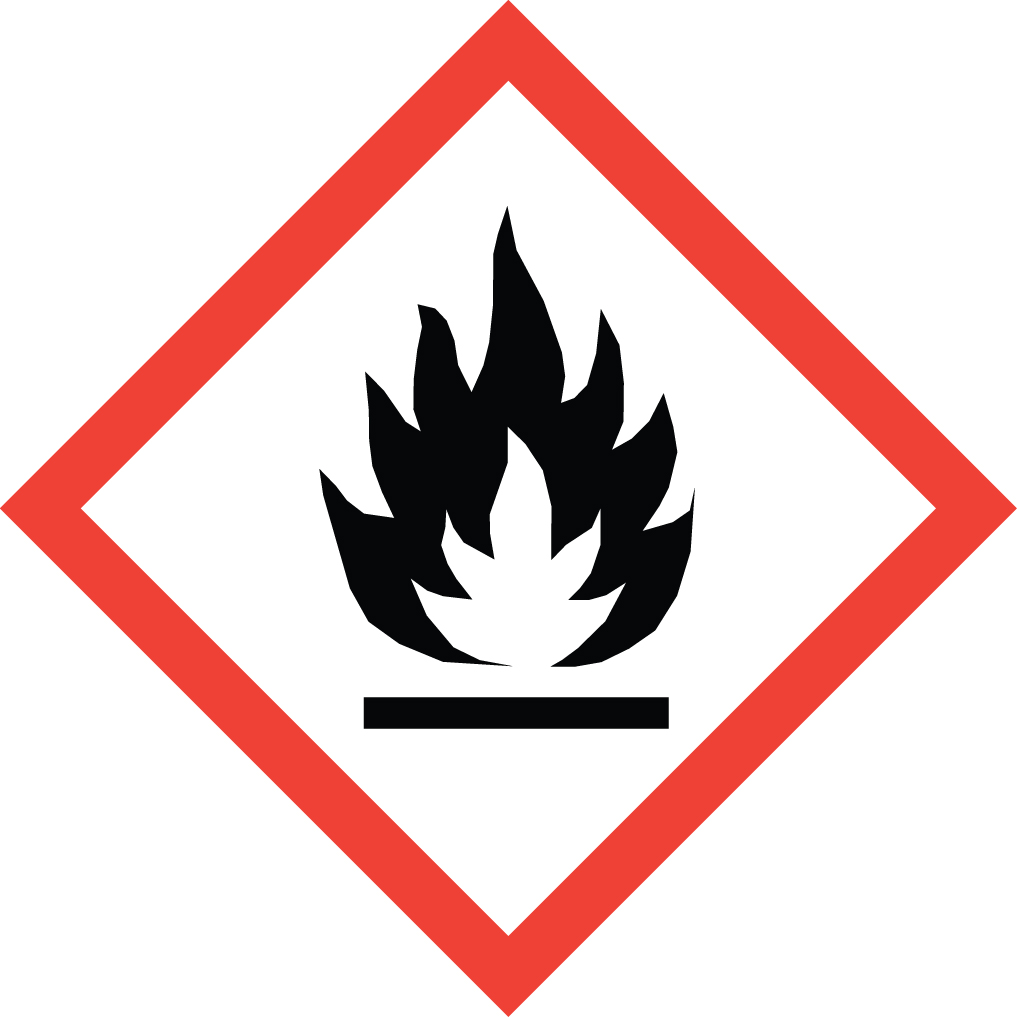 |
Flammable | ignition sources, vapor, heating, open handling, and ventilation | you are not sure whether the step should be kept away from heat, sparks, or done in the hood |
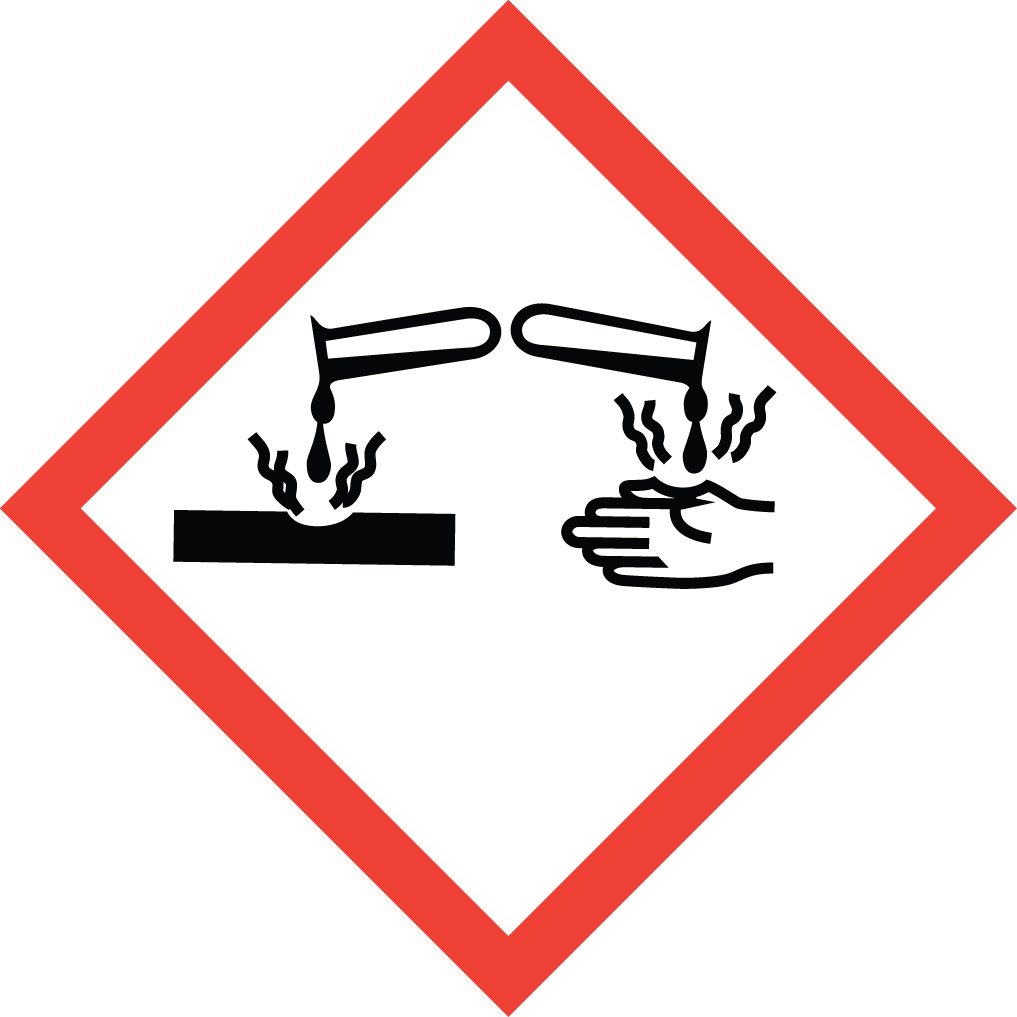 |
Corrosive | skin and eye exposure, splash risk, surface damage, and careful transfer technique | you do not know what protection, washing response, or transfer control this step requires |
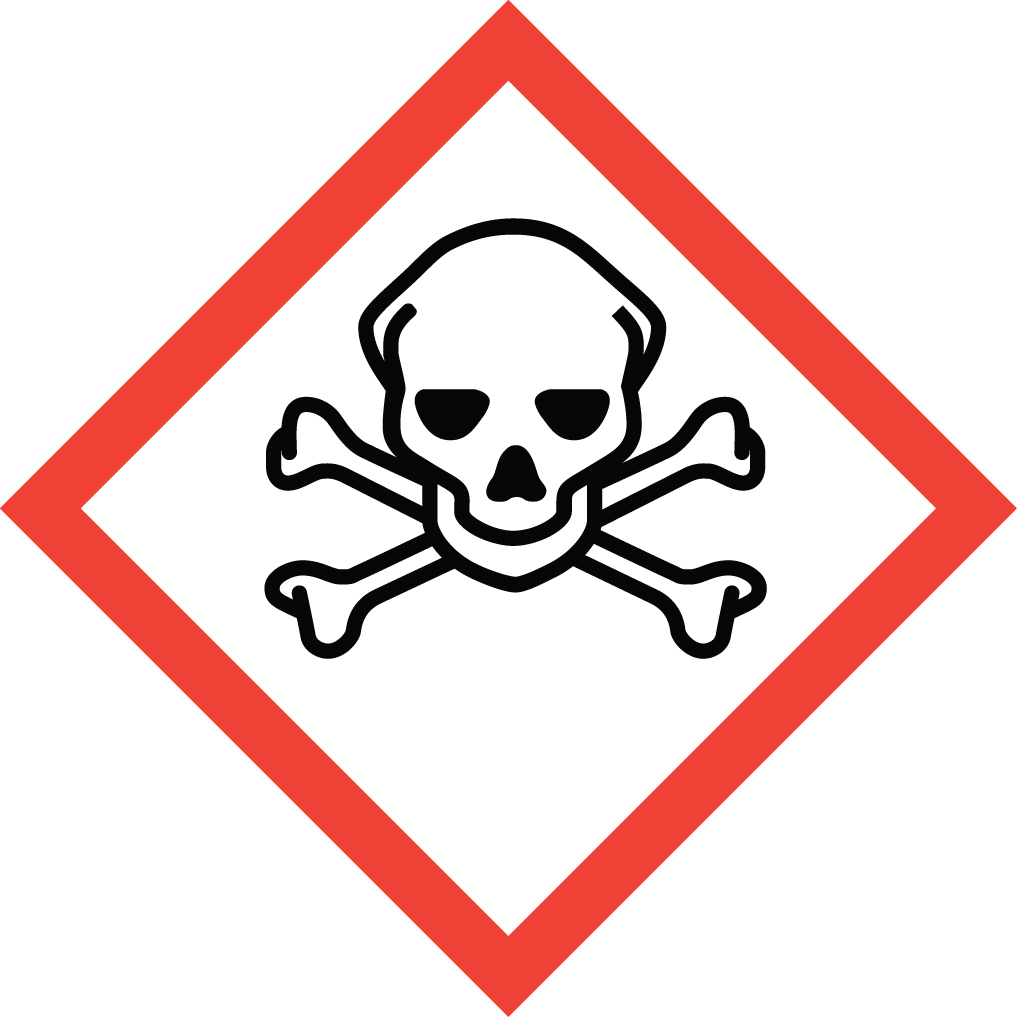 |
Acute toxicity | serious harm from exposure, including inhalation, skin contact, or accidental ingestion | you are not sure how exposure should be minimized or whether this step needs tighter control |
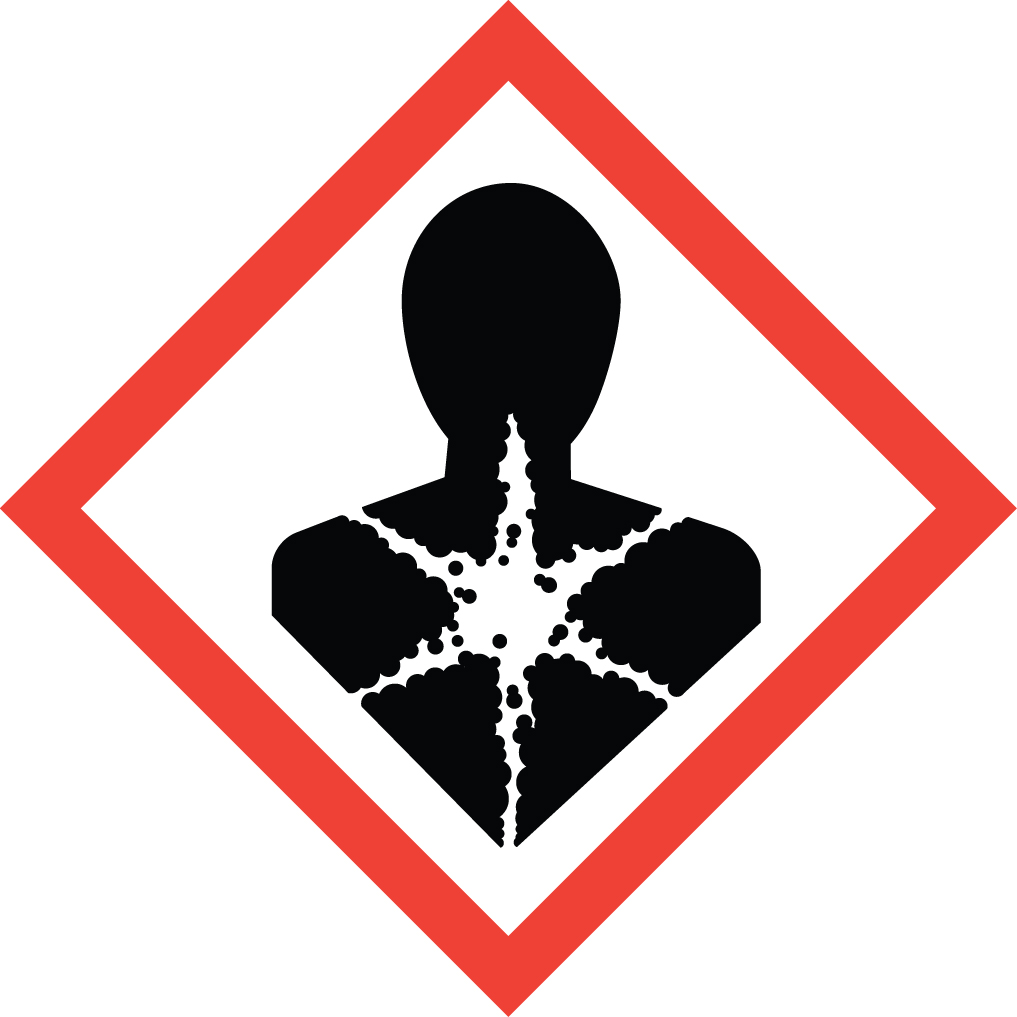 |
Health hazard | longer-term or less obvious exposure risks, especially through inhalation or repeated contact | you are treating the material like an ordinary routine liquid without thinking about exposure route |
 |
Compressed gas | pressure, regulator use, tubing security, and line safety | you do not understand how the gas source, cylinder, or line should be handled safely |
 |
Oxidizer | fire-promoting behavior and incompatibility with other materials | you do not know what this material must be kept away from or how it changes fire risk |
 |
Explosive or highly unstable | shock sensitivity, heat sensitivity, or rapid decomposition risk | you do not understand why this material or step carries unusual instability risk |
Stop-work decisions beginners should learn early
Stop and ask when:
- you cannot identify a reagent, solvent, or waste stream confidently
- the glassware looks chipped, cracked, strained, or poorly supported
- the setup is unstable, crowded, or behaving differently from what you expected
- you are unsure whether the step belongs at the bench or under local exhaust and fume control
- heating, stirring, cooling, or vacuum is active and you do not trust the setup
- you notice unusual smell, vapor, sound, pressure, boiling behavior, or liquid movement
- you do not know what the next safe action is
- you are about to continue mainly because you feel pressure to keep up
Stopping early is part of working safely
Stopping does not mean overreacting. It means recognizing that safe work depends on control, and control depends on understanding. Once the setup, the material, or your own judgment no longer feels clear, continuing without clarification is usually the riskier choice.
For beginners, one of the most important lessons is this: you do not need to wait for a full accident before you treat something as a safety problem. If the situation no longer makes sense, stop there. That is often the right decision.
What to Do First If Something Goes Wrong
When something goes wrong in lab, your first job is not to give a perfect explanation. It is to respond early, stay controlled, and keep the situation from getting worse.
Beginners sometimes freeze because they think they need to understand everything before saying anything. Others try to fix the problem quietly before anyone notices. Neither response is reliable. If something has gone wrong, early safe action matters more than a complete explanation.
First actions matter more than perfect explanations
If it is safe to do so, stop the action that is still happening. Step back from the immediate hazard. Move yourself and others away from the area if needed. Alert the responsible person as soon as possible.
The right first response depends on the situation, but the principle is the same: make the situation safer before you try to make it tidier, quieter, or less embarrassing.
Do not keep heating, keep pouring, keep adjusting, or keep “just finishing the step” once the situation no longer feels controlled. If glass breaks, a spill spreads, vapor appears unexpectedly, a setup behaves abnormally, or contact exposure occurs, treat that as a real event, not as something to hide inside the normal flow of the session.
If you have been trained to take a specific immediate action, follow that training. If you have not, the safest move is usually to stop, step back, and get the responsible person involved early.
In the first moment, focus on this:
- stop the active step if it is safe to do so
- move back from the immediate hazard
- warn nearby people if they may be affected
- tell the responsible TA, instructor, or supervisor promptly
- follow the lab’s emergency procedure rather than improvising your own
Do not hide the problem and do not improvise the fix
A common beginner mistake is to think a problem will stay small if it is handled quietly. In reality, hidden problems often become harder to manage because the people who should respond are brought in too late.
Do not hide broken glass, wipe up unknown material without guidance, continue using damaged apparatus, or try to “repair” an unstable setup while you are still unsure what went wrong. A rushed unofficial fix can create a second problem on top of the first one.
This is especially true when the situation involves chemical exposure, broken or stressed glassware, a spill with uncertain contents, unusual vapor, pressure, heat, or an active vacuum setup. In those moments, guessing is not efficiency. It is risk.
Report early, not late
Small spills, broken glass, chemical contact, damaged apparatus, and abnormal setup behavior are all easier to manage when they are reported early. Waiting does not usually make them smaller. It usually makes them harder to respond to safely.
Early reporting helps because it preserves useful information. People can still see what happened, what was involved, what is still active, and what needs to be controlled. Once time passes, the scene becomes less clear, memory becomes less reliable, and the response often becomes more complicated.
Reporting early is not overreacting. It is part of competent lab work. The sooner the right person knows about the problem, the easier it usually is to keep it from becoming a bigger one.
For spill, contact, or exposure response, see Spill Response and First Aid, Eye Wash and Safety Shower, and Fire Response Equipment.
A calm early response is better than a late polished explanation
When something goes wrong, you do not need to have the full story immediately. You do need to respond in a way that protects people, contains confusion, and gets help involved early.
For beginners, one of the most important lessons is this: do not wait until you can explain everything perfectly before you say that something is wrong. If the situation needs attention, say so early. That is often the safest and most responsible first step.
Before You Leave the Bench
The experiment is not truly finished when the reaction stops or the final transfer is done. It is finished when the bench, the setup, the waste, and any remaining materials have been left in a clear and safe state.
Beginners sometimes treat cleanup as something separate from the real work. In practice, the condition in which you leave the bench is part of the work. A setup that is left active, unclear, unlabeled, or half-resolved does not stop being a safety issue just because the main chemistry is over.
Leave the setup in a safe state
Before you walk away, check that the setup is no longer being left in an unclear or risky condition. Heating should be off if it is no longer needed. Water, vacuum, and gas lines should be left in the correct state for that setup and that room. Apparatus should not be left active, partly active, or ambiguously “still running” unless that status is intentional, clearly understood, and acceptable in your lab.
A common beginner mistake is to think that once the main step is done, the setup no longer needs active judgment. But many end-of-bench problems begin here: a hot plate left on, cooling water still running unnecessarily, vacuum left applied, gas left flowing, or a setup left in place with no clear sign of whether it is safe, finished, or still in use.
Do not walk away from active or recently active apparatus without making its status clear.
Before leaving, check that:
- heating is off if it is no longer required
- water, vacuum, and gas lines are in the correct final state
- no part of the setup is being left in an unstable, pressurized, heated, or unclear condition
- anything intentionally left in place is clearly identifiable and understood
Leave waste, samples, and tools in a readable state
Dispose of what should be disposed of. Label what remains. Return shared tools properly. Do not leave behind beakers, flasks, vials, syringes, tubing, or containers that the next person will have to interpret by guesswork.
This matters because confusion does not end when your step ends. Unclear leftovers become someone else’s uncertainty: a mystery liquid, an unlabeled sample, used glassware mixed with clean glassware, a sharps item left in the wrong place, or waste left beside rather than inside the correct container.
A readable bench at the end of the session should make it obvious what has been discarded, what is being kept, what still belongs to someone, and what is safe to handle.
Before you leave, make sure:
- waste has gone to the correct place
- retained samples are clearly labeled
- used items are not mixed with clean shared items
- shared tools have been returned properly
- no unexplained containers or materials are left behind
For end-of-bench disposal and classification, see Chemical Waste and Sharps Disposal.
End-of-bench safety is part of professional habit
Good safety and good bench behavior grow together. Ending well is not extra neatness, and it is not only about courtesy. It is part of controlled lab work.
When you leave the bench in a safe and readable state, you are doing more than protecting yourself. You are reducing the chance of later confusion, misuse, contamination, and avoidable mistakes for everyone else who works in that space.
For beginners, this is an important habit to learn early: the experiment is not finished when the chemistry stops. It is finished when the bench can be understood safely by the next person who sees it.
Suggested Downloadables
- First Organic Lab Session Checklist
- Basic Glassware Inspection Checklist
- Common Waste Stream Quick Reference
- Ground Glass Joint Size Quick Reference