How to Choose a Condenser for Distillation
A distillation condenser is chosen for directed condensation, not just for strong cooling. The real question is whether vapor can move through the setup cleanly, condense where it should, and then travel forward into the receiver without turning the path into something awkward, overloaded, or harder to interpret than it needs to be.
Fast answer: For ordinary simple distillation, a Liebig condenser is usually the most natural starting choice because it gives a clear forward path for vapor and condensed liquid. A Graham condenser is not a universal upgrade just because it offers more cooling surface. More specialized distillation condensers can be useful in more demanding cases, but they should be chosen because the setup genuinely needs them, not because more complex glass automatically means better performance.
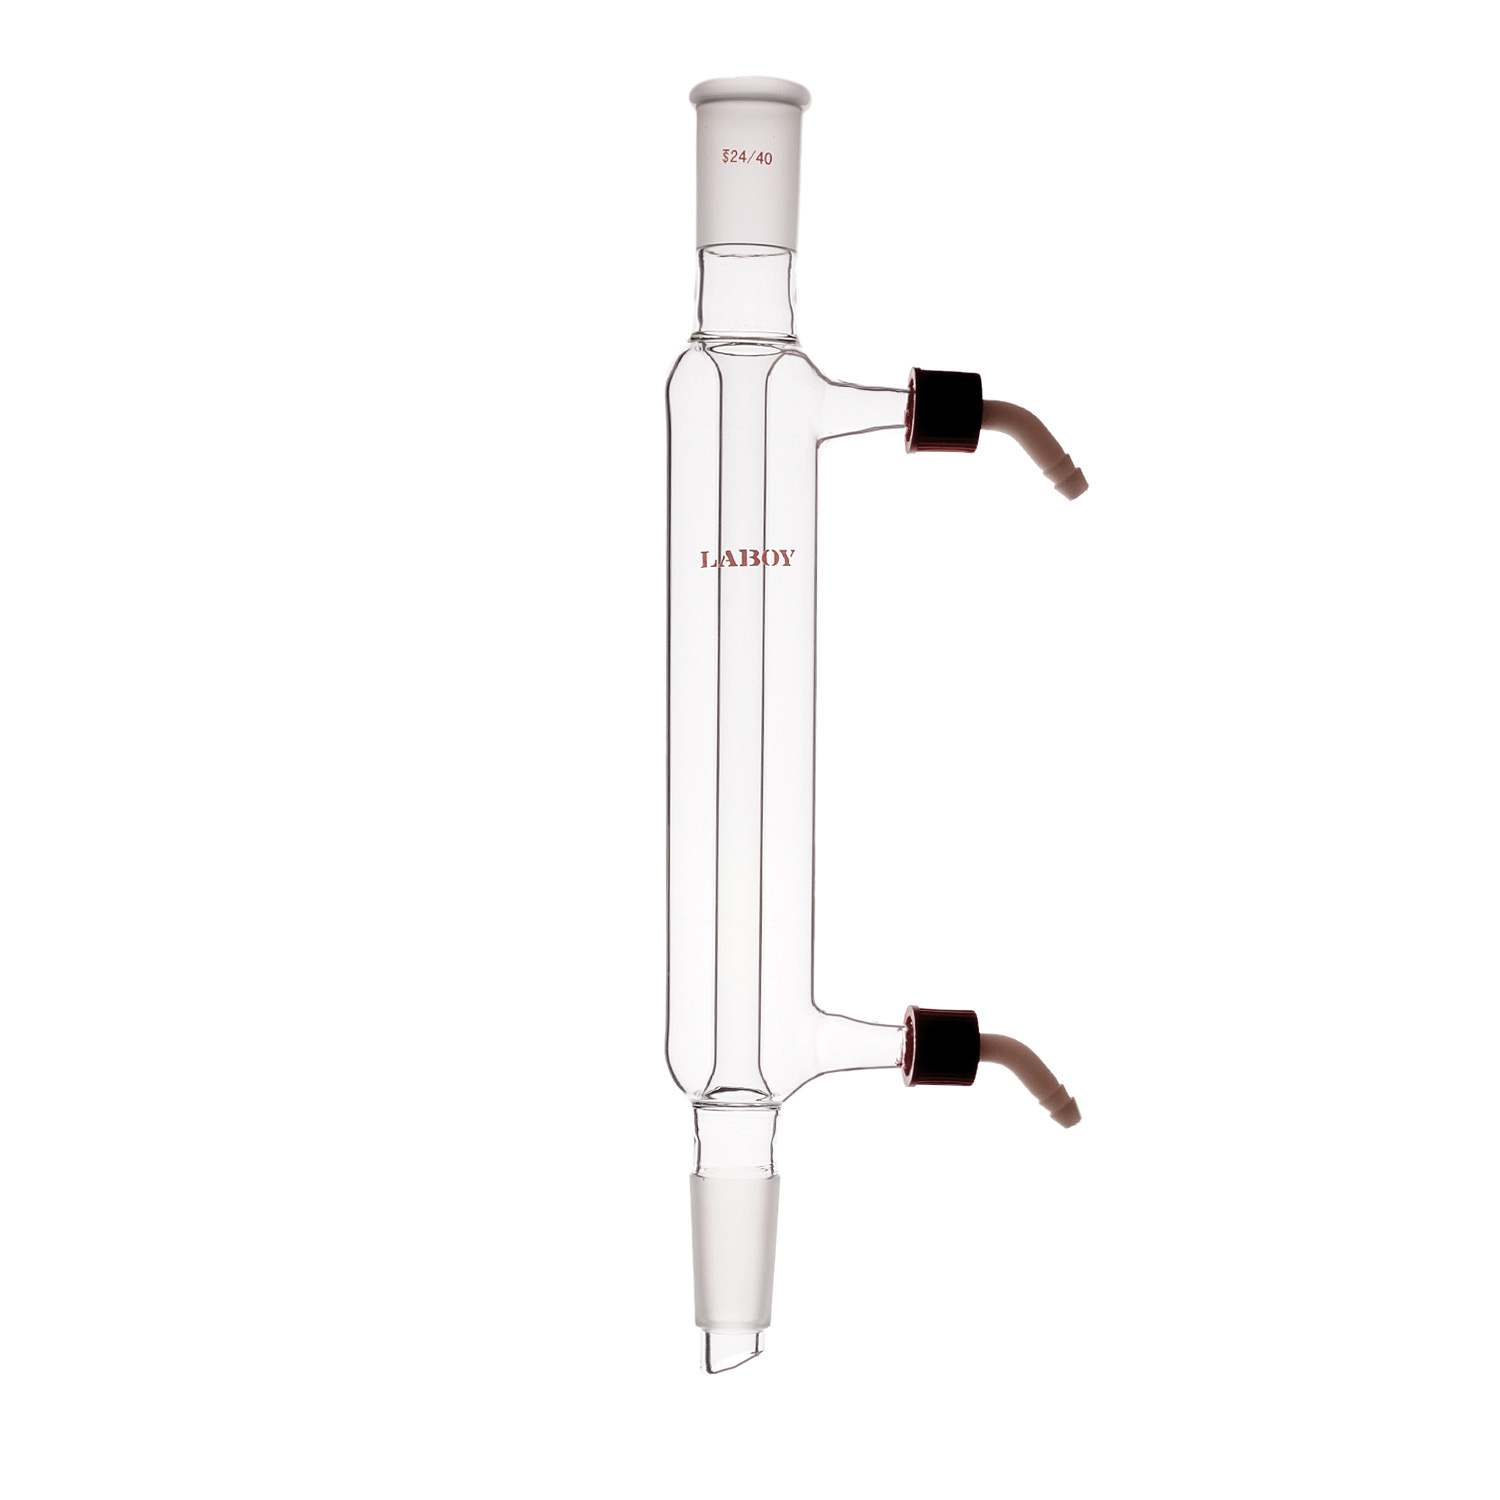
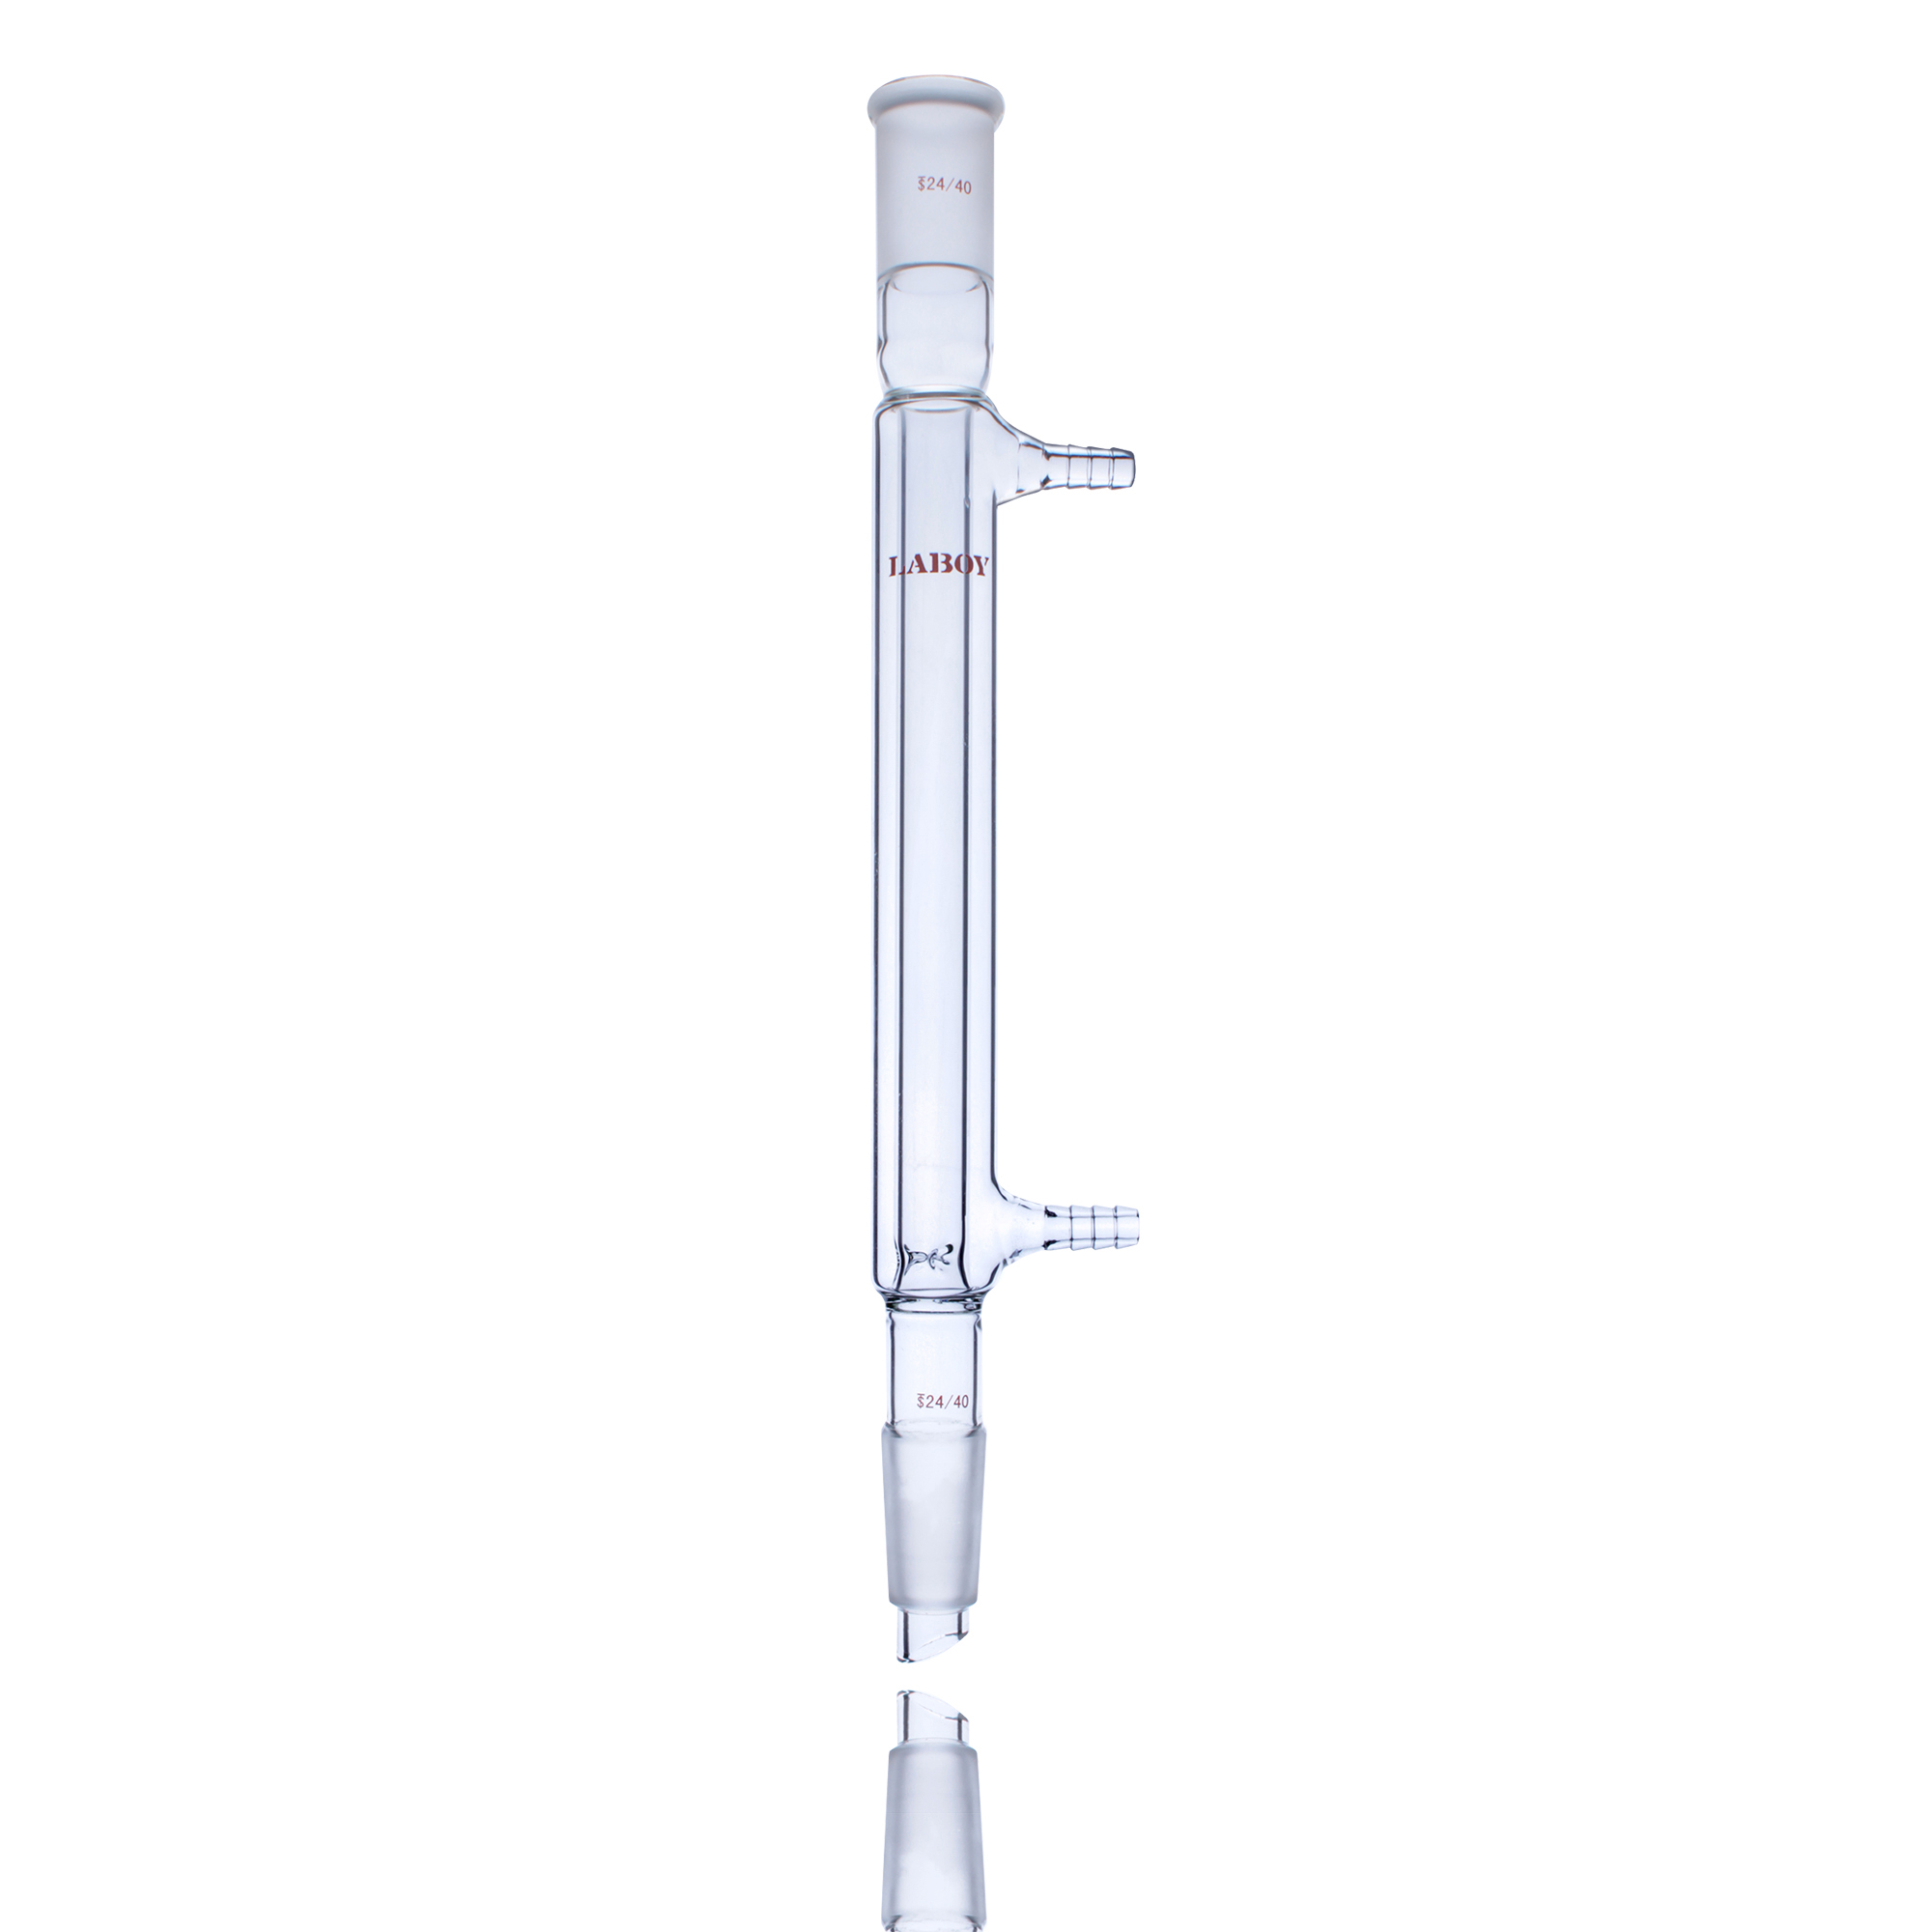
Liebig
Straightforward vapor flow and directed condensation make the Liebig condenser the most common starting choice for simple distillation.
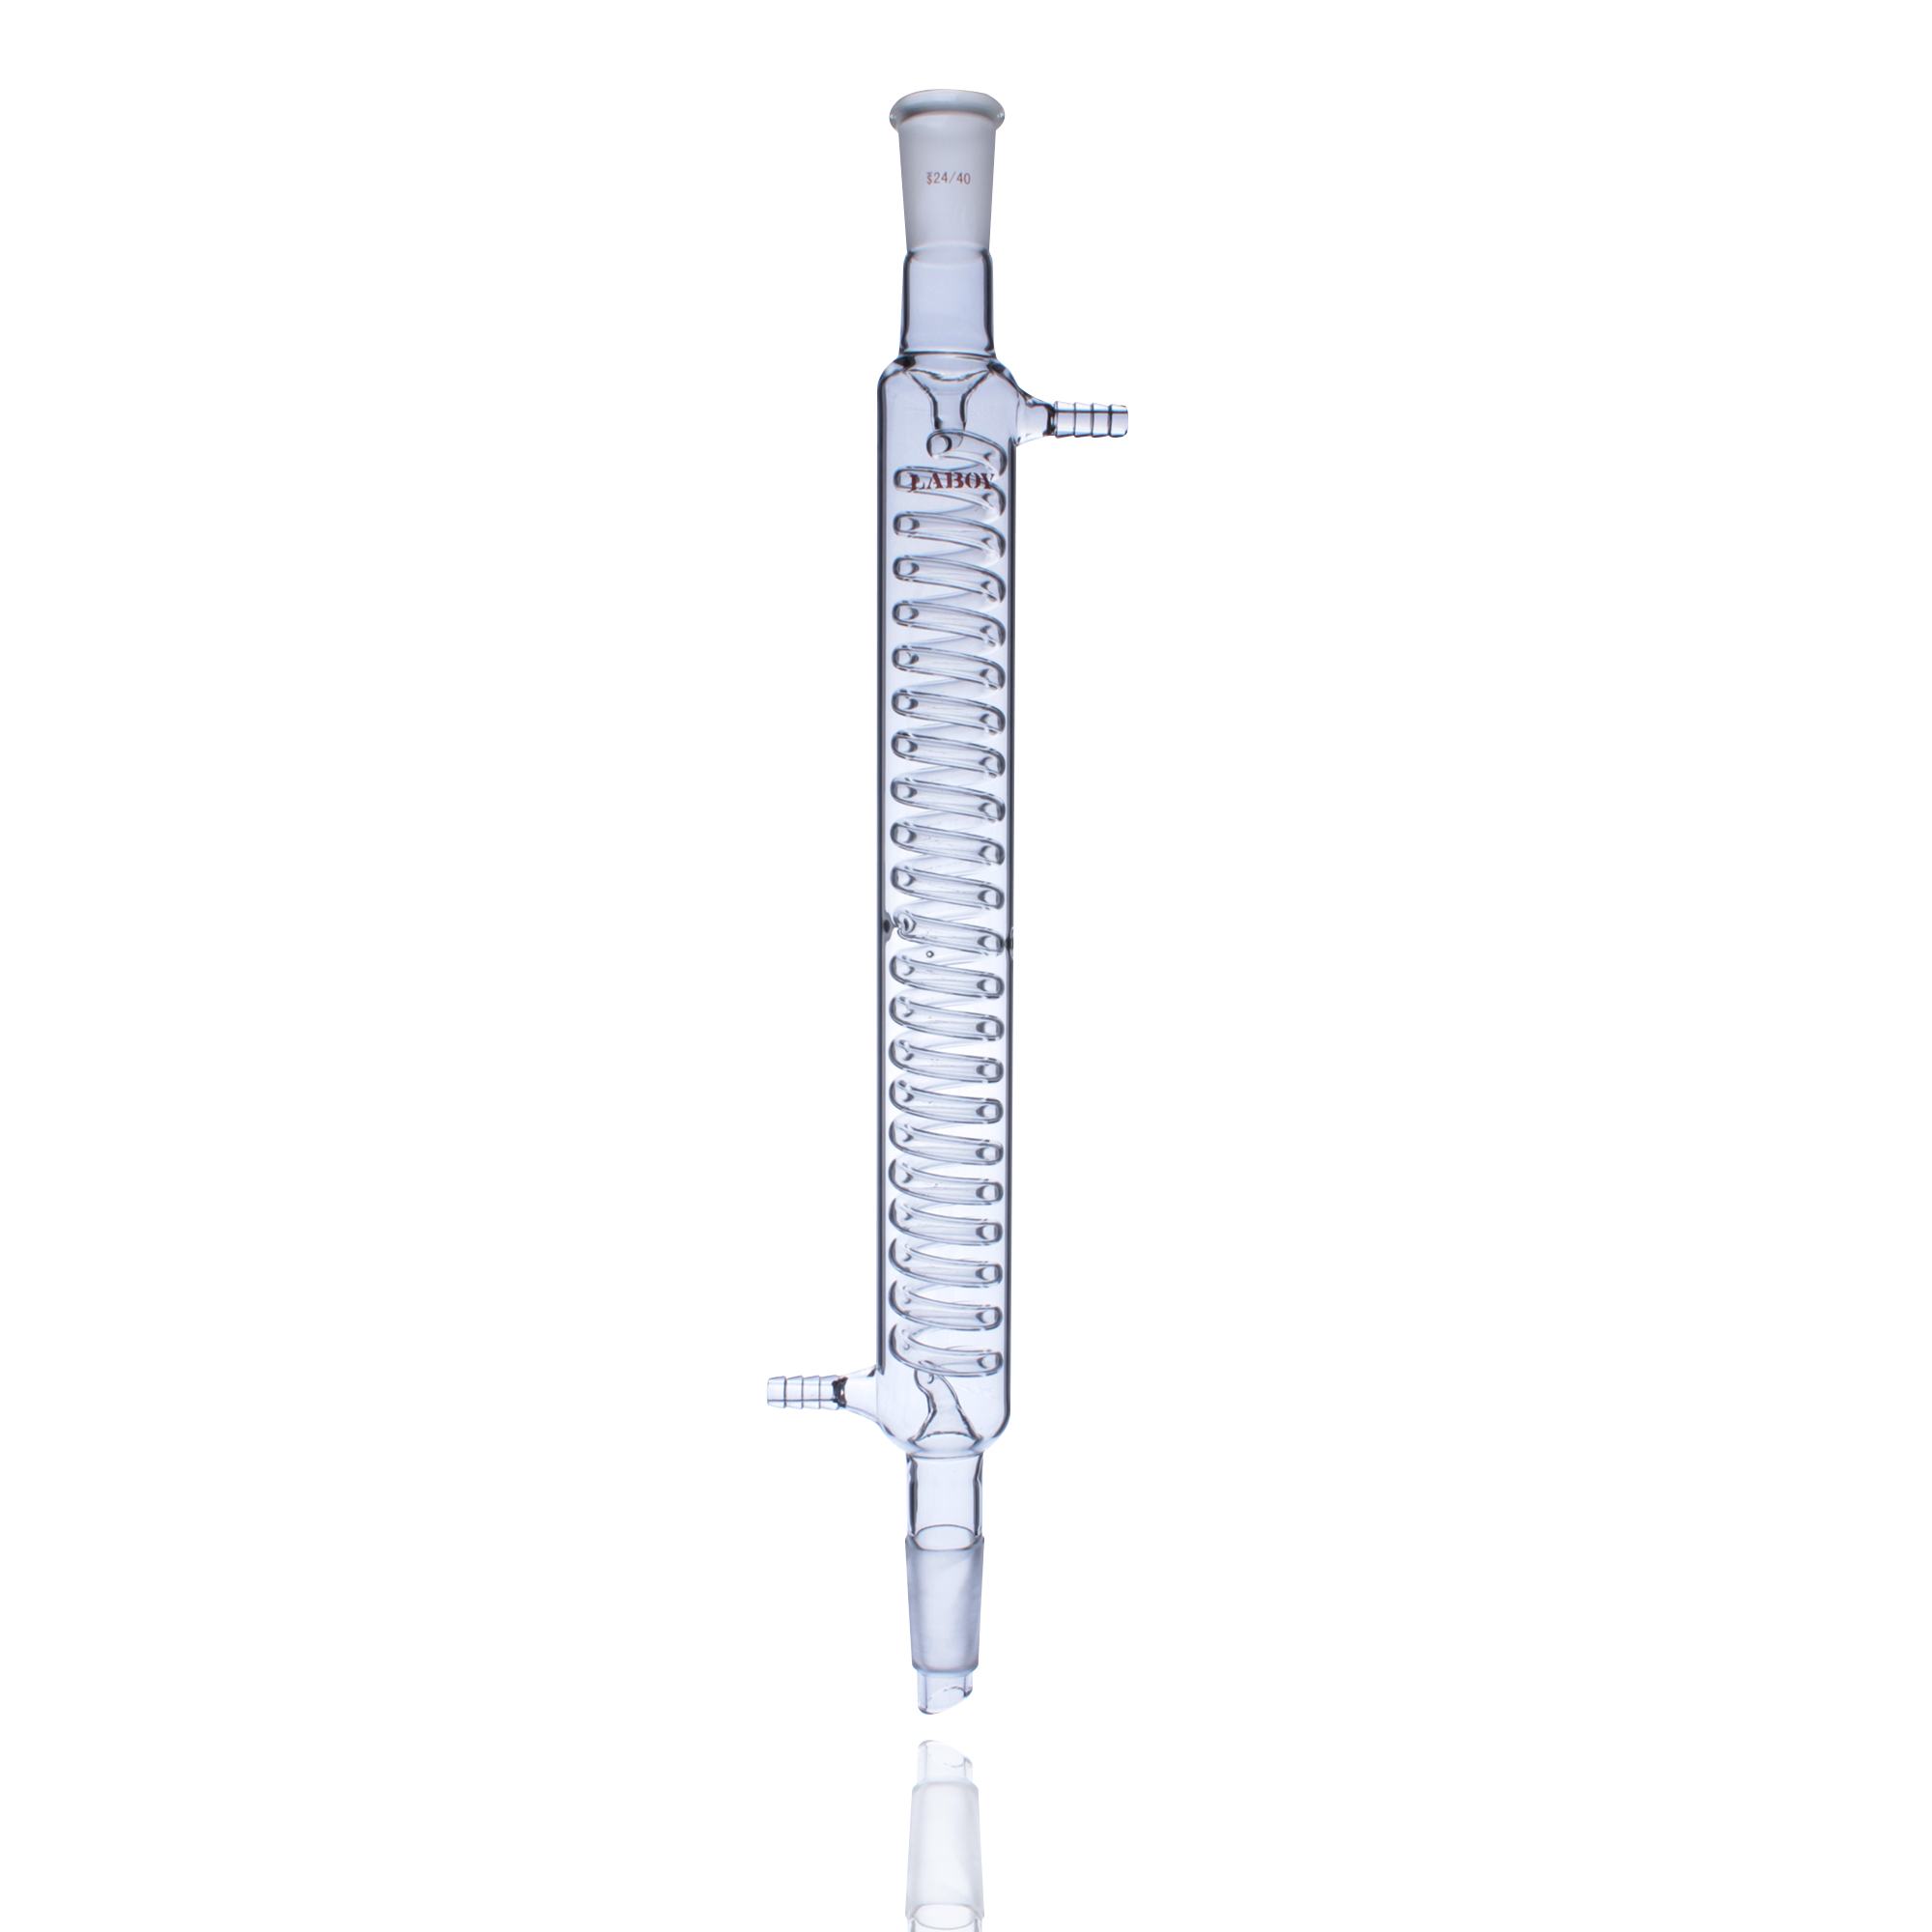
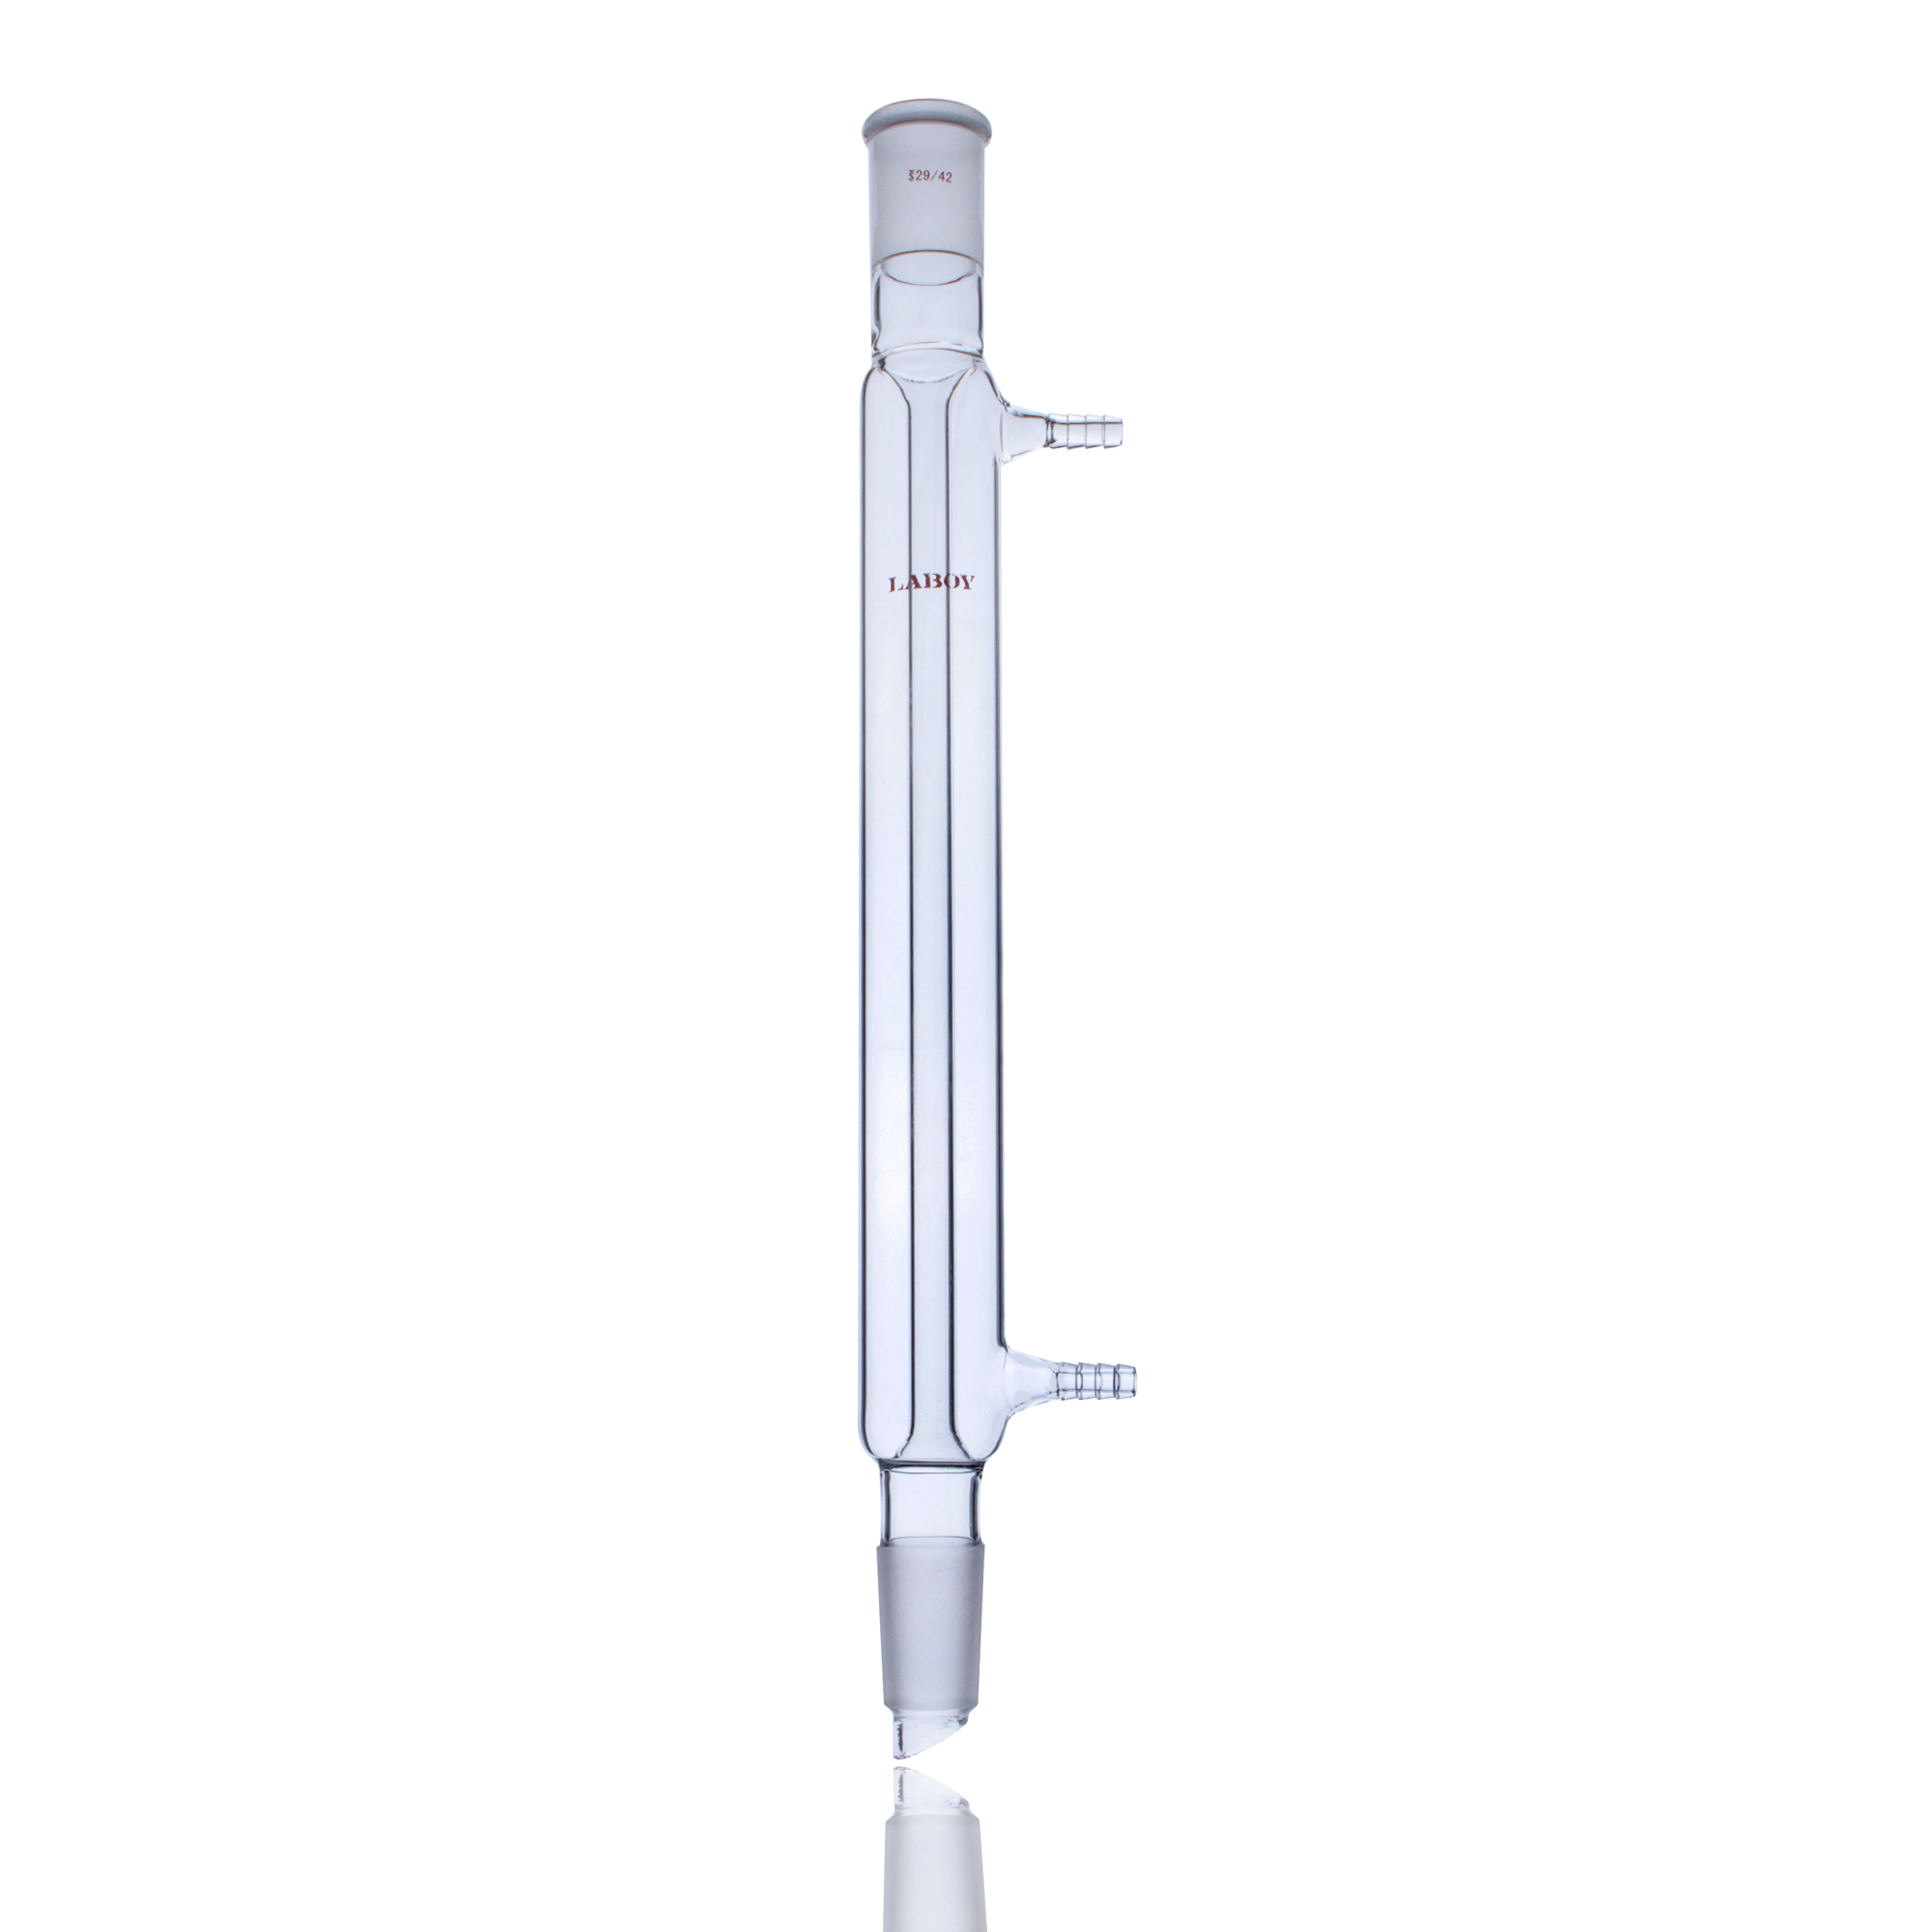
Graham
More internal surface area does not automatically mean a better fit for ordinary student-lab distillation.
Specialized distillation condensers
Some distillation setups call for more specific condenser designs, but complexity should follow the setup, not lead it.
What the condenser is doing in a distillation setup
In distillation, vapor leaves the boiling flask, travels through the vapor path, enters the condenser, cools, and then moves onward as liquid into a receiver. That sounds simple, but it is the key difference from reflux. In reflux, the liquid should return to the same flask. In distillation, the liquid should move forward and leave the boiling flask behind.
That means a distillation condenser needs to do more than cool effectively. It needs to support a clean forward path. If the condenser geometry makes condensation stronger but makes the overall liquid path more awkward, it may not improve the setup as much as a beginner expects.
Bench-first way to think about it: in distillation, the condenser is part of a transfer path. The goal is not just to condense. The goal is to condense and deliver the liquid where it is supposed to go next.
Why Liebig is so common in simple distillation
A Liebig condenser is common in simple distillation because it matches the logic of the setup very well. It has a straight inner tube inside a water jacket, which makes the vapor path easy to understand and the liquid path easy to follow. That straightforward geometry is a major advantage in student-lab distillation.
Beginners sometimes underestimate a Liebig condenser because it looks simpler than other designs. In practice, that simplicity is exactly why it works so well as a starting point. When the job is directed condensation into a receiver, a clear path is often more useful than a more complicated shape with more cooling surface.
Why reflux logic does not automatically transfer to distillation
One of the most common beginner mistakes is to assume that a condenser choice that works for reflux should also work the same way for distillation. The two setups are not solving the same problem.
In reflux, condensed liquid should fall back into the original flask. In distillation, condensed liquid should move forward into a receiver. That difference matters because the best condenser is not only the one that cools well. It is also the one that supports the right liquid path for the setup you are actually running.
This is why “more powerful” does not automatically mean “better for distillation.” A condenser that offers more surface area may still make the forward path less straightforward or less readable. In routine student-lab work, that is often not an upgrade.
When stronger or more specialized condensers enter the discussion
There are real cases where a more specialized condenser design becomes worth considering. The vapor load may be higher, the condensation demand may be stronger, or the rest of the setup may call for a more specific geometry. But that decision should come from the needs of the setup, not from the assumption that more complex glass is automatically better.
Graham condensers are a good example of this. They may look like a clear upgrade because of their internal coil and larger cooling area, but they are more specialized than they first appear. The useful question is not “is it stronger?” The useful question is “does this geometry actually help the setup I am running?”
What beginners should actually look at
When a distillation setup is running, beginners often focus only on whether the condenser feels cold and whether liquid is coming out. That is not enough. What matters is whether vapor is moving through the path as expected, whether condensation is happening where it should, and whether the liquid is moving forward cleanly into the receiver.
A good distillation setup should look controlled rather than improvised. The condenser should not feel like it is barely keeping up. The liquid path should not look awkward or uncertain. If the setup seems to rely on extra complexity to do a simple job, that is often a sign that the condenser choice may be less helpful than it first appeared.
What to notice at the bench: ask whether the condenser is helping the vapor move forward and the liquid collect cleanly. If the flow path becomes harder to read, that matters just as much as raw cooling strength.
A simple framework for choosing a distillation condenser
Start with four questions.
- What kind of distillation is this? Simple student-lab distillation often benefits from the clearest, most readable condenser path.
- How much vapor is the setup producing? A stronger vapor load may change what works well.
- Does the liquid path stay forward and controlled? Directed condensation matters more than beginners often realize.
- Is extra complexity actually helping? More complex glass is only useful when it solves a real setup problem.
A condenser that works well in an ordinary, calm student-lab setup may stop feeling like the right choice when vapor throughput rises or when the setup becomes harder to manage. That is why distillation condenser choice should always be read together with how the system is actually being driven.
Distillation condenser choice quick guide
| Distillation situation | Usually the better starting choice | Why | What to watch |
|---|---|---|---|
| Ordinary simple distillation | Liebig | Straightforward vapor path and directed condensation into the receiver | Do not overcomplicate the setup without a reason |
| More demanding condensation conditions | Case-dependent, more specialized condenser | The setup may genuinely need more specific cooling geometry | Make sure the geometry still supports a clear forward path |
| Student-lab routine work | Simple, readable design | Easier to assemble, interpret, and troubleshoot | Do not choose complexity just because it looks more efficient |
| Setup type | Main goal | Where the condensed liquid should go | What matters most | Common beginner confusion |
|---|---|---|---|---|
| Reflux | Return material to the boiling flask | Back into the same flask | Smooth return plus adequate cooling | “Any condenser works if it is cold enough” |
| Distillation | Move condensed material into a receiver | Forward into the receiver | Clean vapor path plus directed condensation | “If it cools harder, it must be better” |
Common beginner mistakes
- Treating reflux and distillation as the same condenser problem. They are not. One returns liquid; the other transfers it forward.
- Assuming stronger cooling is always the upgrade. Surface area alone does not decide what is best for distillation.
- Ignoring the forward liquid path. Directed condensation is part of the job, not an afterthought.
- Choosing by appearance instead of flow logic. More elaborate glass is not automatically more useful.
- Adding complexity without a real need. In routine student-lab work, a simpler, more readable path is often the better choice.
Final takeaway
If you only remember one thing, remember this: a good distillation condenser is chosen for clear forward transfer, not just for strong cooling.
For ordinary simple distillation, start by thinking Liebig.
For more demanding cases, consider more specialized condenser designs only when the setup genuinely needs them.
Do not treat a more complex condenser as an automatic upgrade unless it clearly improves the way vapor condenses and moves forward into the receiver.