Why Your Condenser Setup Is Not Working Properly
When a condenser setup starts behaving badly, the useful question is not “what is this condenser called?” It is “what symptom am I actually seeing?” A condenser problem may come from too much heat, poor liquid return, the wrong cooling path, loose hoses, bad support, or a leaking setup that is no longer behaving the way you think it is.
Fast answer: Start with the symptom, not the condenser name. If vapor rises too high, reduce heat first and check whether cooling is keeping up. If liquid hangs up inside the condenser, check return path and orientation. If the water side is causing trouble, check direction, hose security, and drain path. If the setup smells wrong, leaks, or feels unstable, stop and inspect before pushing it harder.
When vapor rises too high or return looks wrong
If the reflux looks overloaded, the first checks are usually heat, cooling adequacy, and whether the condenser still fits the actual vapor load.
When the cooling side is the real problem
A condenser can fail because the water path is wrong, the hoses are insecure, or the drain side is poorly controlled.
When the setup is mechanically unstable
Some “condenser problems” are really support, clamp, or angle problems that make the whole path less stable and less trustworthy.
Start with the symptom, not the condenser name
Students often start troubleshooting by asking whether they chose the wrong condenser. Sometimes that is the right diagnosis, but often it is not the first one. A condenser setup can look wrong because the heat is too high, the water path is wrong, the return path is awkward, the joint is leaking, or the whole setup is under poor mechanical support.
That is why symptom-first troubleshooting works better. You do not begin by swapping parts at random. You begin by describing what the setup is actually doing: vapor rising too high, liquid collecting awkwardly, hoses slipping, strong solvent smell, tilted glassware, or a setup that simply looks unstable while running.
Better troubleshooting habit: describe the failure pattern first. Then check heat, cooling path, liquid return, support, and joints in that order before you start rebuilding the setup.
Symptom 1: Vapor is rising too high or solvent seems to be escaping
If the visible vapor or condensation zone sits very high in the condenser, the first suspicion is usually that the setup is being driven too hard. Too much heat is a more common cause than many beginners realize. A condenser can only manage the vapor load it is actually being given.
The next question is whether the cooling side is keeping up. If the condenser is appropriate in principle but the cooling path is inefficient, the setup may still start to look like it is losing control. Only after checking those two things does it make sense to ask whether the condenser choice itself is too weak or too awkward for the setup.
First checks: reduce the heat first, then confirm the condenser is being cooled correctly, then ask whether the setup is asking more of the condenser than it can reasonably handle.
Symptom 2: Condensed liquid is hanging up or flooding the condenser
A little visible wetting inside a condenser is not automatically a problem. But a large amount of liquid collecting awkwardly, returning unevenly, or appearing to sit where it should not sit is different. That is when you should start thinking about return path, orientation, and whether the condenser geometry actually fits the setup you are running.
In reflux, this often means the condensed liquid is not returning as smoothly as it should. In distillation, it may mean the forward path is becoming less clean than expected. Either way, the problem is not just “more liquid.” The problem is that the liquid path is no longer easy to read or easy to trust.
Before blaming the condenser model itself, check whether the glass is at an awkward angle, whether the setup is unstable, or whether the vapor load has climbed high enough that the path is now behaving differently from how it looked at the start.
Symptom 3: The water side is causing trouble
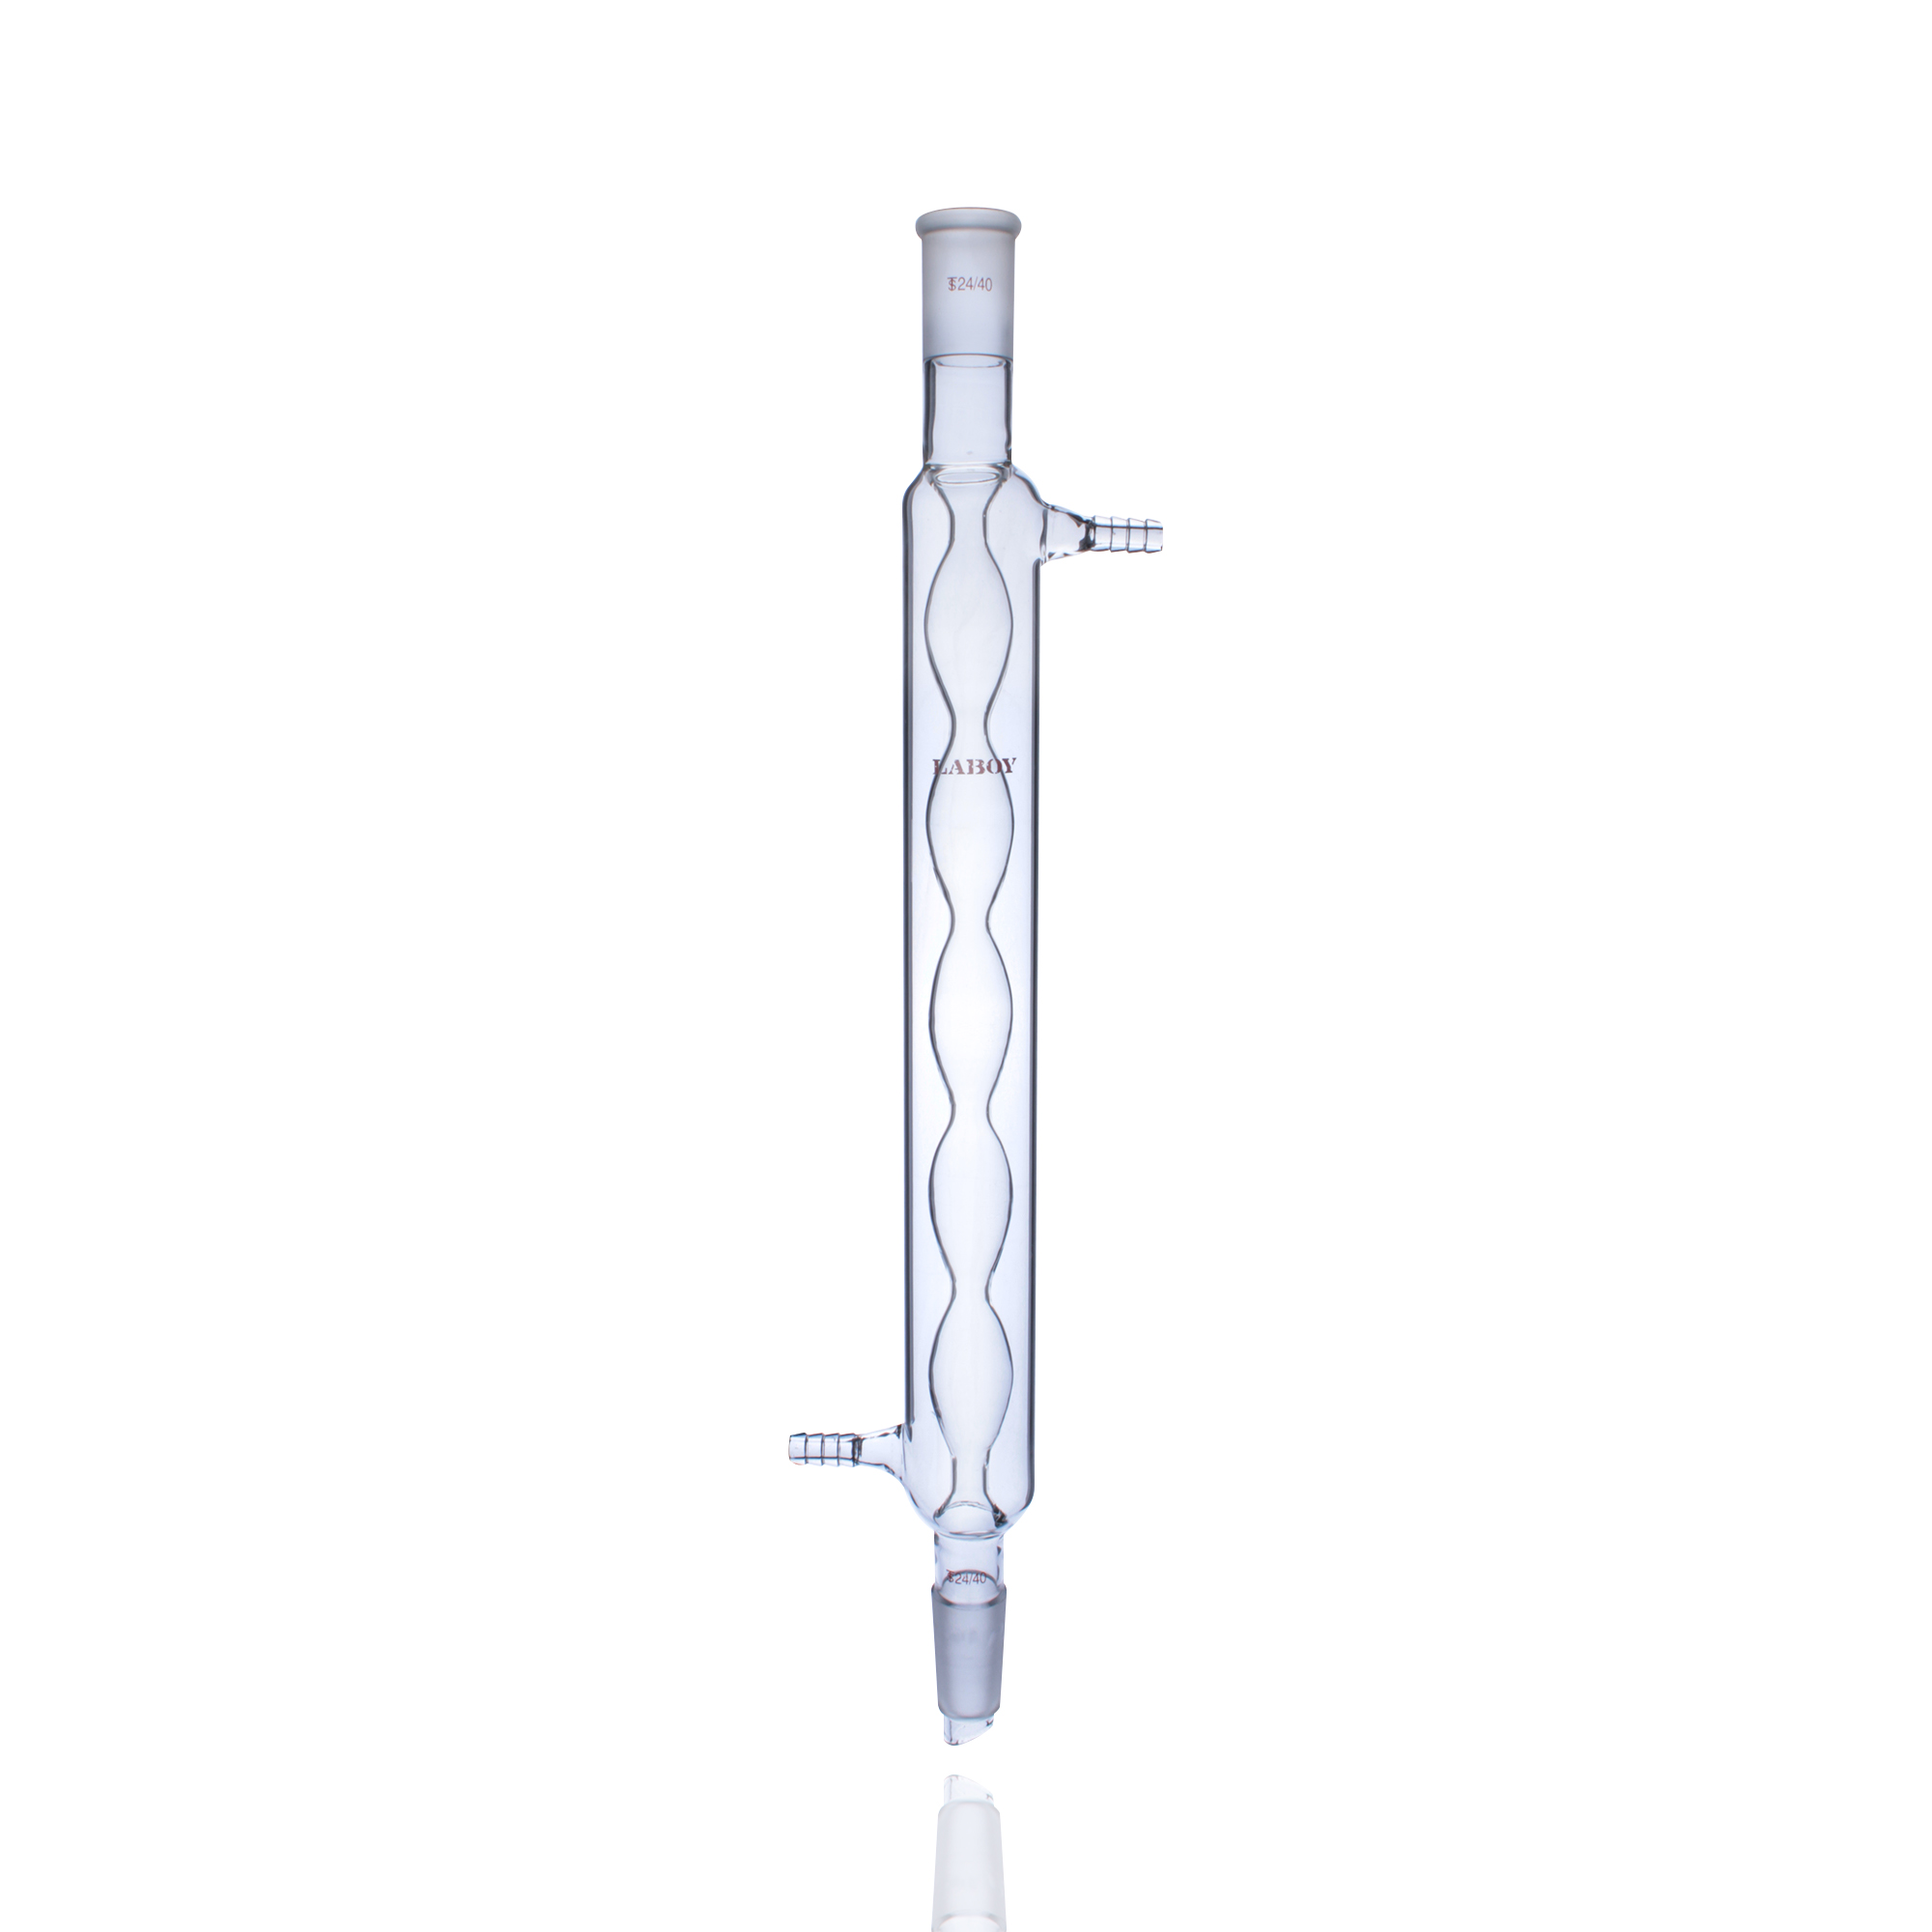
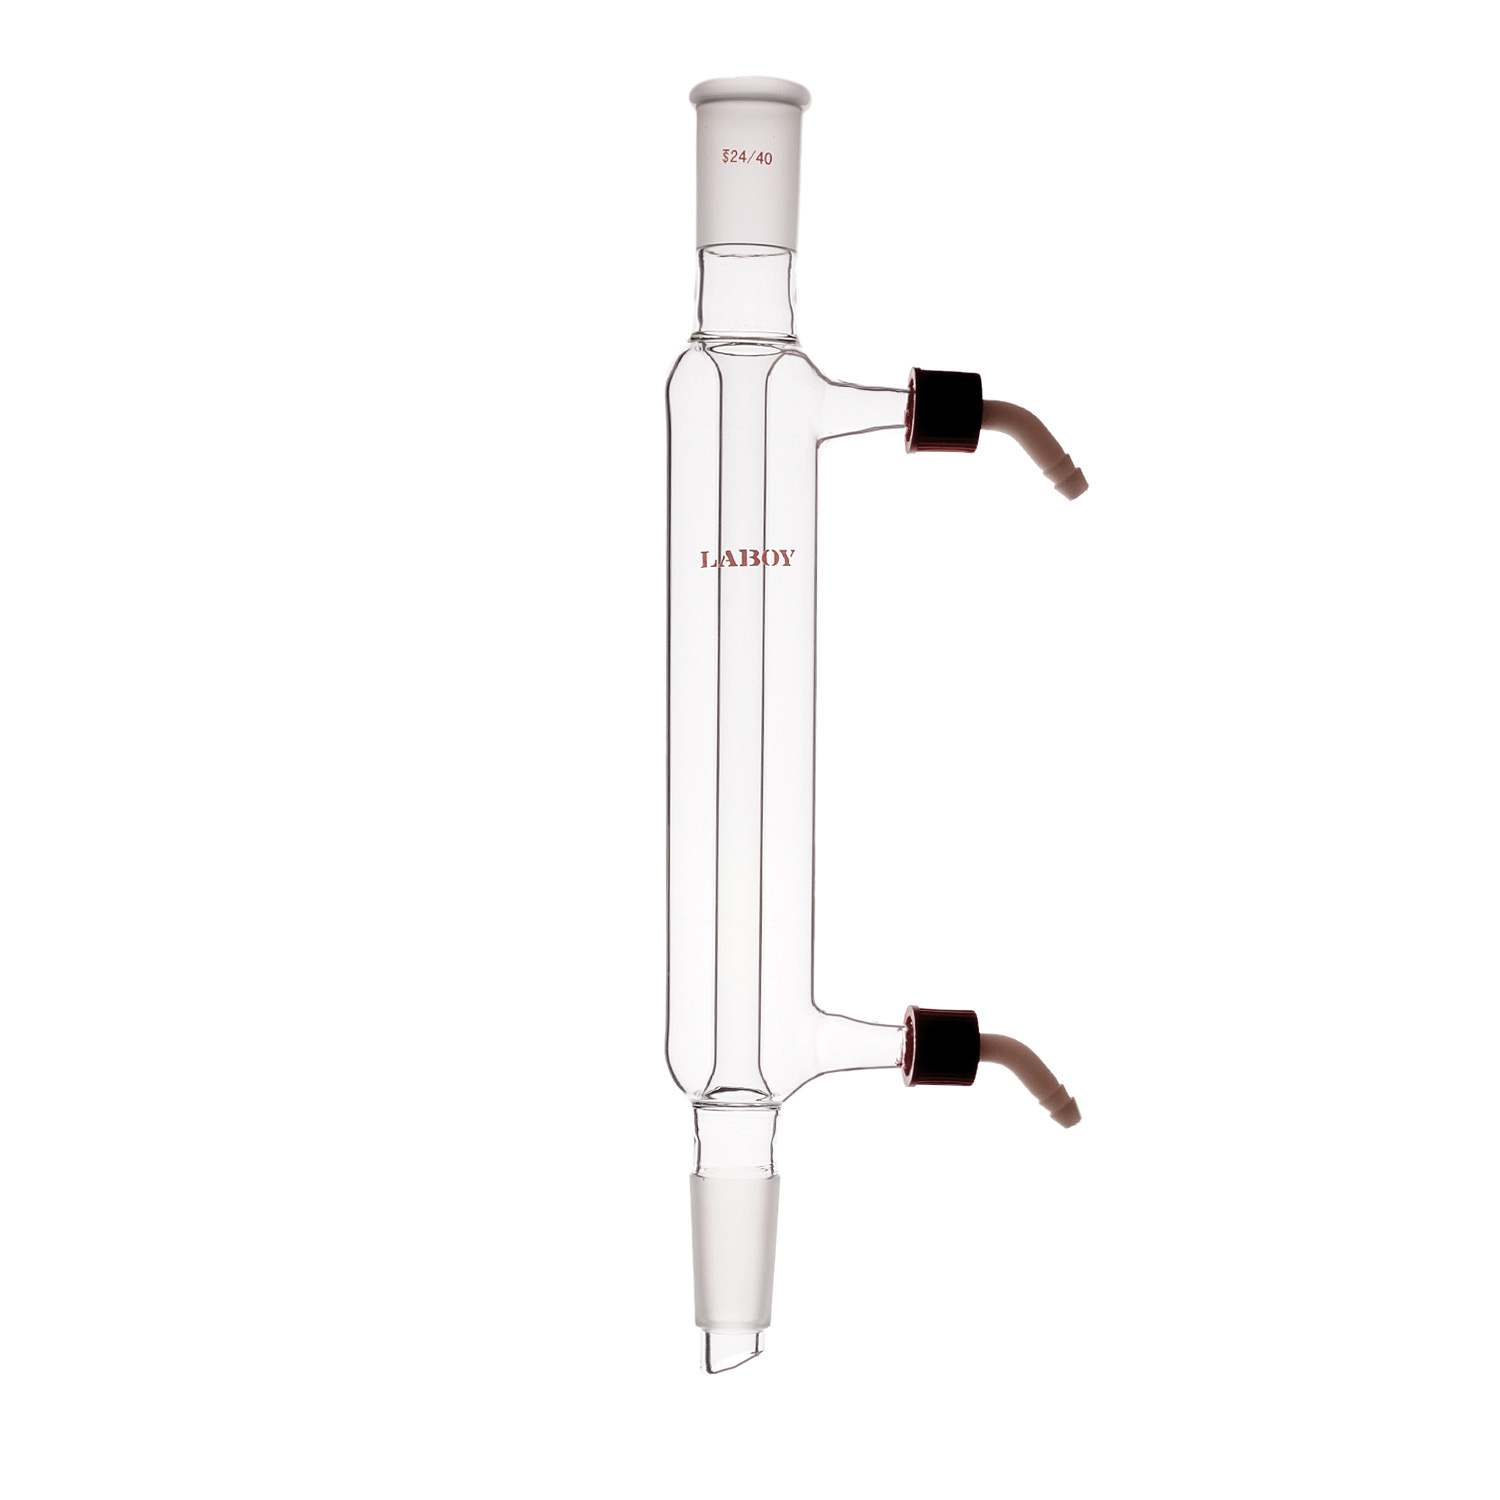
Some condenser failures are not really condensation failures. They are water-management failures. Water may be connected in the wrong direction, hoses may be loose, the drain side may not be secured, or the flow may be so poorly controlled that the setup is more fragile than it needs to be.
For most ordinary lab condensers, water should enter from the bottom and leave from the top so that the jacket fills properly. The goal is not maximum water flow. The goal is a filled, stable cooling path. If hoses are loose, the drain side is not fixed well, or water is leaking near a hot plate or mantle, that is no longer a minor inconvenience. It is a reason to pause and correct the setup properly.
First checks: confirm bottom-in/top-out flow, check that both hoses are secure, and make sure the drain side is directed somewhere safe and stable before you keep running the setup.
Symptom 4: The condenser is cooling, but the gas-handling logic is still wrong
Sometimes the condenser itself is not the main failure. The cooling may be working reasonably well, but vapor is still clearly reaching the top of the setup, the upper attachment is not doing what you thought it would do, or the setup is starting to rely on improvised top-end hardware to deal with a gas problem it was never designed to solve.
This matters because a reflux condenser is not automatically a gas-treatment device. A condenser may be doing its own job — cooling and returning condensable material — while the real weak point is the assumption that whatever is attached above it is somehow “handling the rest.” In practice, that assumption can fail badly when the reaction evolves corrosive or highly irritating gas.
One especially common misunderstanding is to treat a drying tube as if it were a gas scrubber. Those are not the same job. A drying tube may make sense in some setups where the main goal is light atmospheric protection, but it should not be treated as a general answer to an evolving gas stream. If the reaction is generating corrosive gas, the top of the setup may need deliberate exhaust-handling logic rather than just “something attached above the condenser.”
What to check first: ask whether the condenser is actually failing, or whether the real problem is that the setup is producing gas that the top-end attachment was never meant to handle. If the gas-handling logic is the weak point, switching condenser models may not solve the problem.
Another warning sign is when the attempted fix starts pushing the setup toward becoming more closed than it should be. If a reaction is evolving gas, any attachment above the condenser that can become blocked, congested, or chemically degraded may quietly turn a vapor-control problem into a pressure-safety problem. That is a much more serious failure mode than “some vapor got through.”
Improvised closures can also create a false sense of security. For example, a flexible balloon or soft top-end barrier may look like a convenient buffer, but that does not mean it is chemically compatible with the atmosphere being produced. If the material is being attacked, softened, or degraded, it is not a real solution at all.
Bench-first takeaway: separate three questions that beginners often collapse into one: Is the condenser cooling properly? Is the setup safely open rather than accidentally pressure-building? Is the gas stream actually being handled by the right kind of top-end logic?
Symptom 5: The setup smells wrong, seems to leak, or feels unstable
If you can smell solvent strongly near the condenser or joints, or if the setup no longer feels mechanically trustworthy, stop thinking only about “cooling.” A leaking joint, worn ground-glass connection, cracked glass, or poorly supported condenser can create a failure pattern that looks like bad condensation even though the deeper problem is sealing or support.
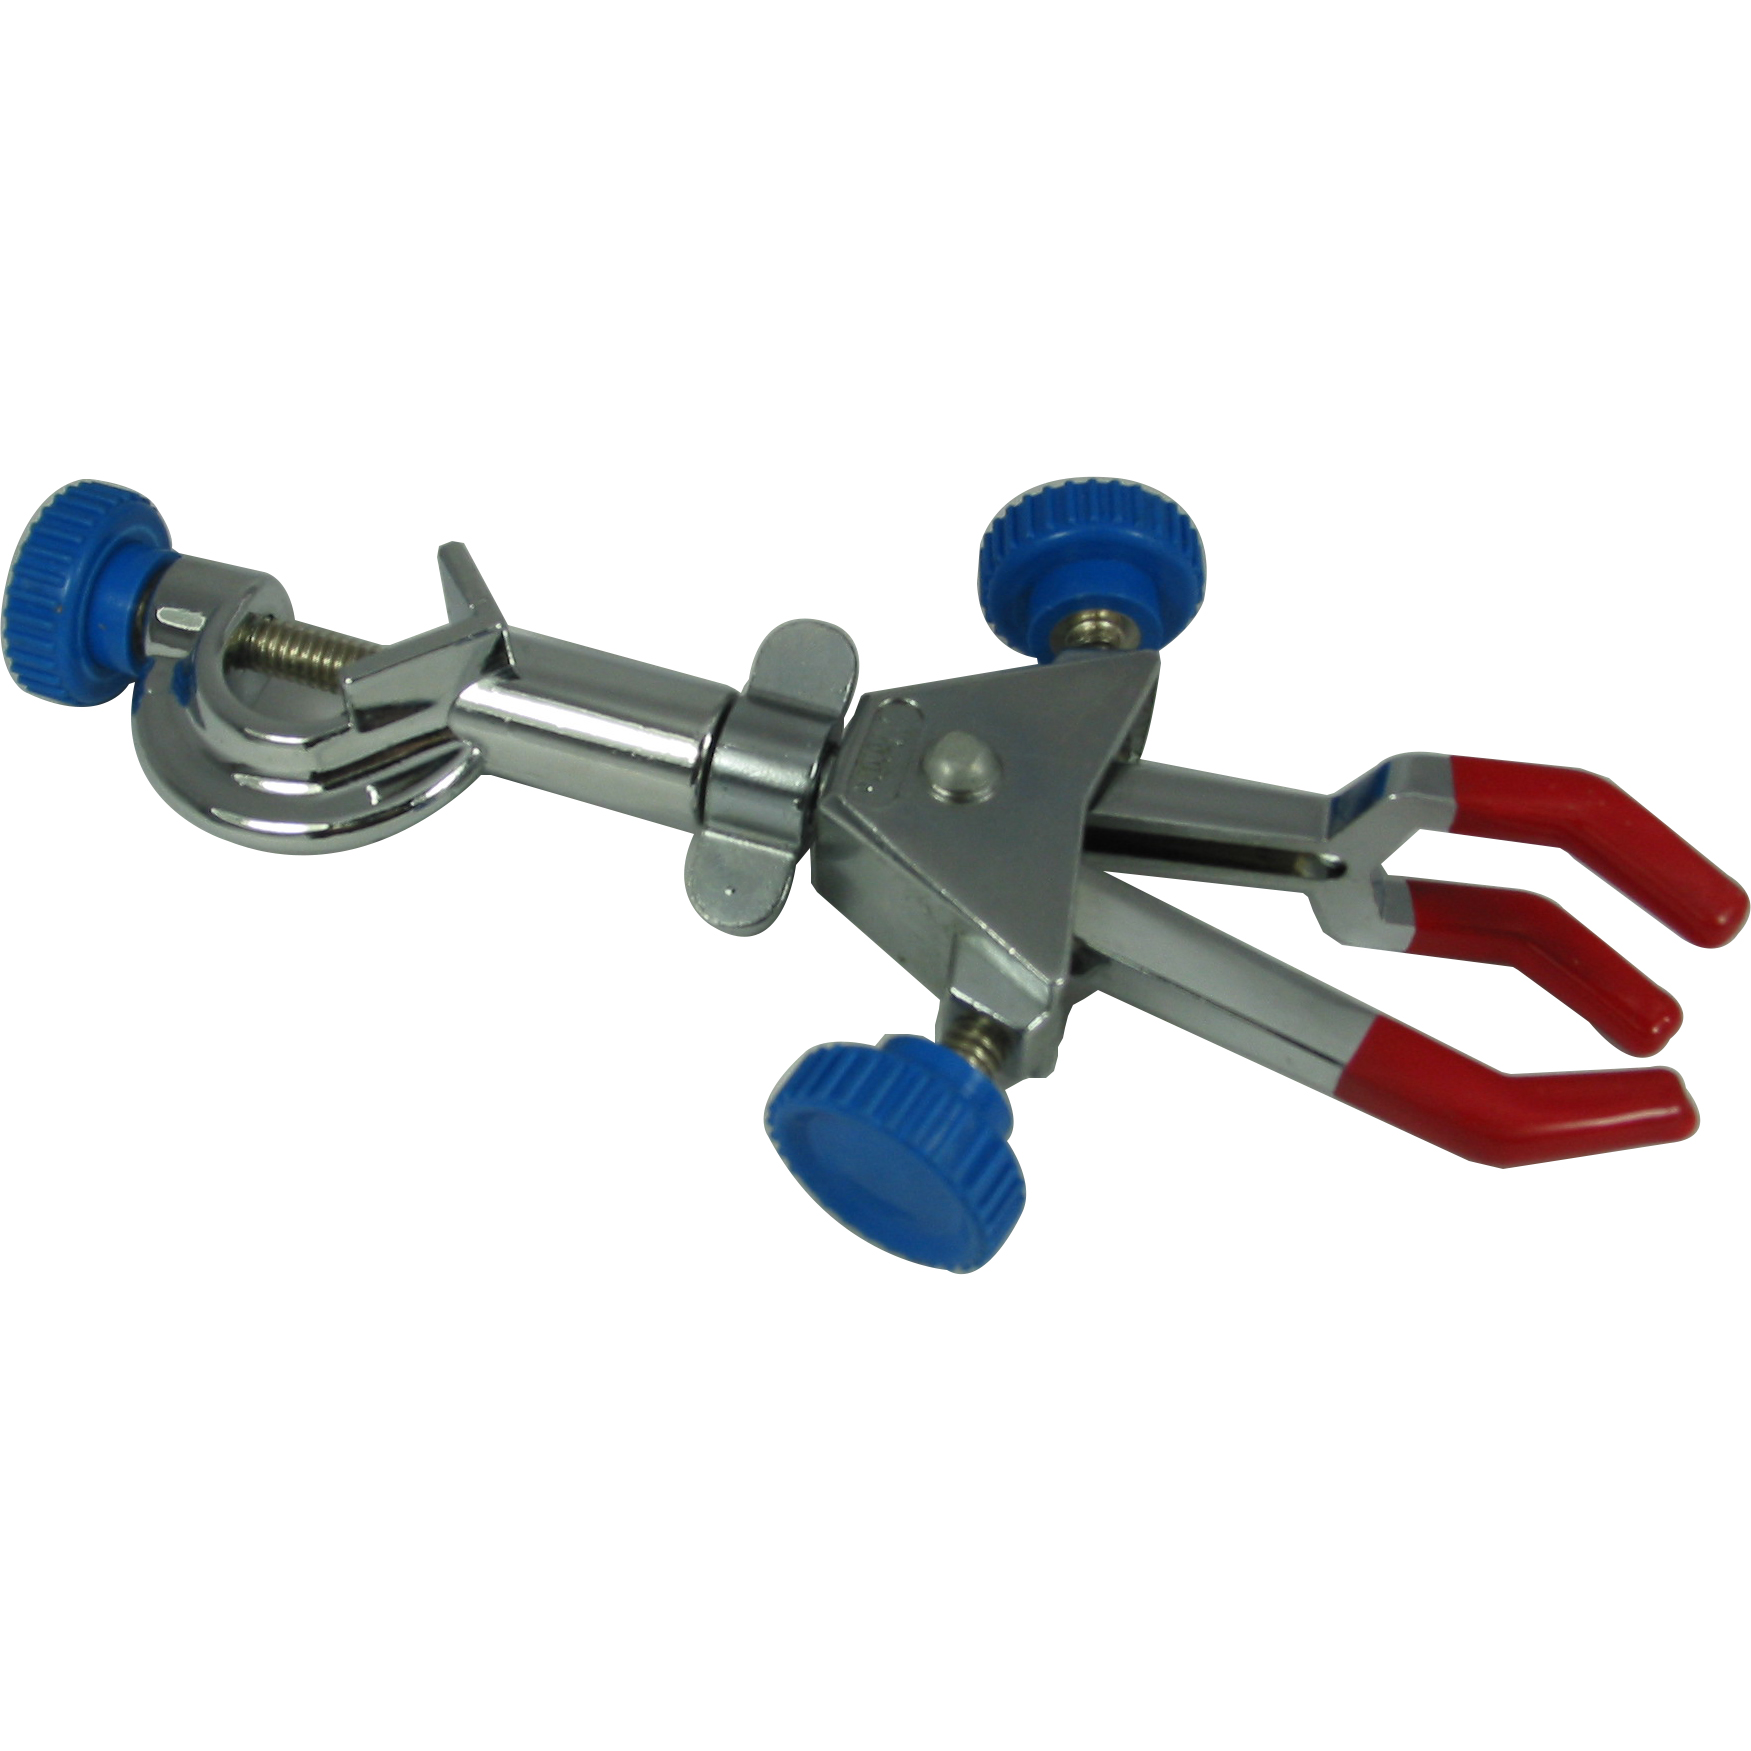
Mechanical stability matters more than beginners often realize. A condenser that is poorly supported can shift the angle of the entire path, change the way liquid returns, or put stress on joints that were never meant to carry that load alone. Some condenser problems are really support problems in disguise.
Useful habit: if the setup looks unstable, treat that as a real problem even before anything visibly fails. Good glass setups should not feel like they are balancing on luck.
What to check first before you rebuild the whole setup
- Heat: Is the setup being driven harder than it should be?
- Cooling path: Is water flowing the right way, and is the jacket actually being used effectively?
- Liquid path: Is condensate returning or transferring the way the setup needs it to?
- Orientation: Is the condenser at a reasonable angle for the job it is doing?
- Support: Is the glassware properly clamped and not loading the joints badly?
- Joints and hoses: Are they secure, dry where they should be, and free of obvious failure signs?
This order matters because many condenser problems can be corrected without a full teardown once you identify the real cause. Randomly swapping condenser types is often the least efficient first move.
When you should stop instead of trying to push through
Stop and reassess if you see any of these
- Vapor clearly escaping rather than being controlled by the setup
- Water leaking near a heat source or onto the work area
- A setup that looks mechanically unstable or badly stressed
- Persistent strong solvent smell near joints or condenser connections
- Any sign that the system may be accidentally behaving like a closed or pressure-building setup
- Cracked glass, slipping hoses, or support hardware that is not trustworthy
Troubleshooting does not mean forcing the setup to keep going at all costs. Sometimes the right move is to stop, cool down, and correct the failure pattern before restarting anything.
Condenser trouble triage table
| Symptom | Most likely first checks | Common underlying cause | First correction |
|---|---|---|---|
| Vapor rising too high | Heat, cooling adequacy, condenser fit | Heat too strong or cooling not keeping up | Reduce heat first |
| Solvent seems to escape | Condensation zone, joints, condenser suitability | Inadequate condensation or leaking setup | Check heat and seal points |
| Liquid hanging up in condenser | Orientation, return path, condenser geometry | Flooding or poor return path | Recheck angle and setup match |
| Water-side trouble | Inlet/outlet direction, hose security, drain path | Poor hose control or inefficient cooling path | Reconnect and secure water path |
| Strong smell near joints | Joint condition, fit, support stability | Vapor leak or stressed glass connection | Stop and inspect before continuing |
| What you observe | Often normal | Often a warning sign |
|---|---|---|
| Thin wet film inside the condenser | Yes, often normal | Not by itself a problem |
| Large amount of liquid collecting awkwardly | No | May suggest flooding or poor return path |
| Visible stable condensation activity in reflux | Yes | Usually expected if controlled |
| Condensation zone near the very top or solvent escape | No | Often suggests overheating or insufficient cooling |
| Water flowing but hoses or drain path look insecure | No | Cooling side may be the real weak point |
Final takeaway
If you only remember one thing, remember this: most condenser failures become easier to solve once you describe the symptom clearly instead of blaming the condenser name first.
If vapor rises too high, reduce heat and check whether cooling is keeping up.
If liquid hangs up, look at return path and orientation.
If the water side is messy, treat that as a real setup problem, not a minor annoyance.
If the setup smells wrong, leaks, or feels unstable, stop and inspect before you push it any harder.