How Ground-Glass Joints Are Made — From Glass Tubing to a Finished Joint

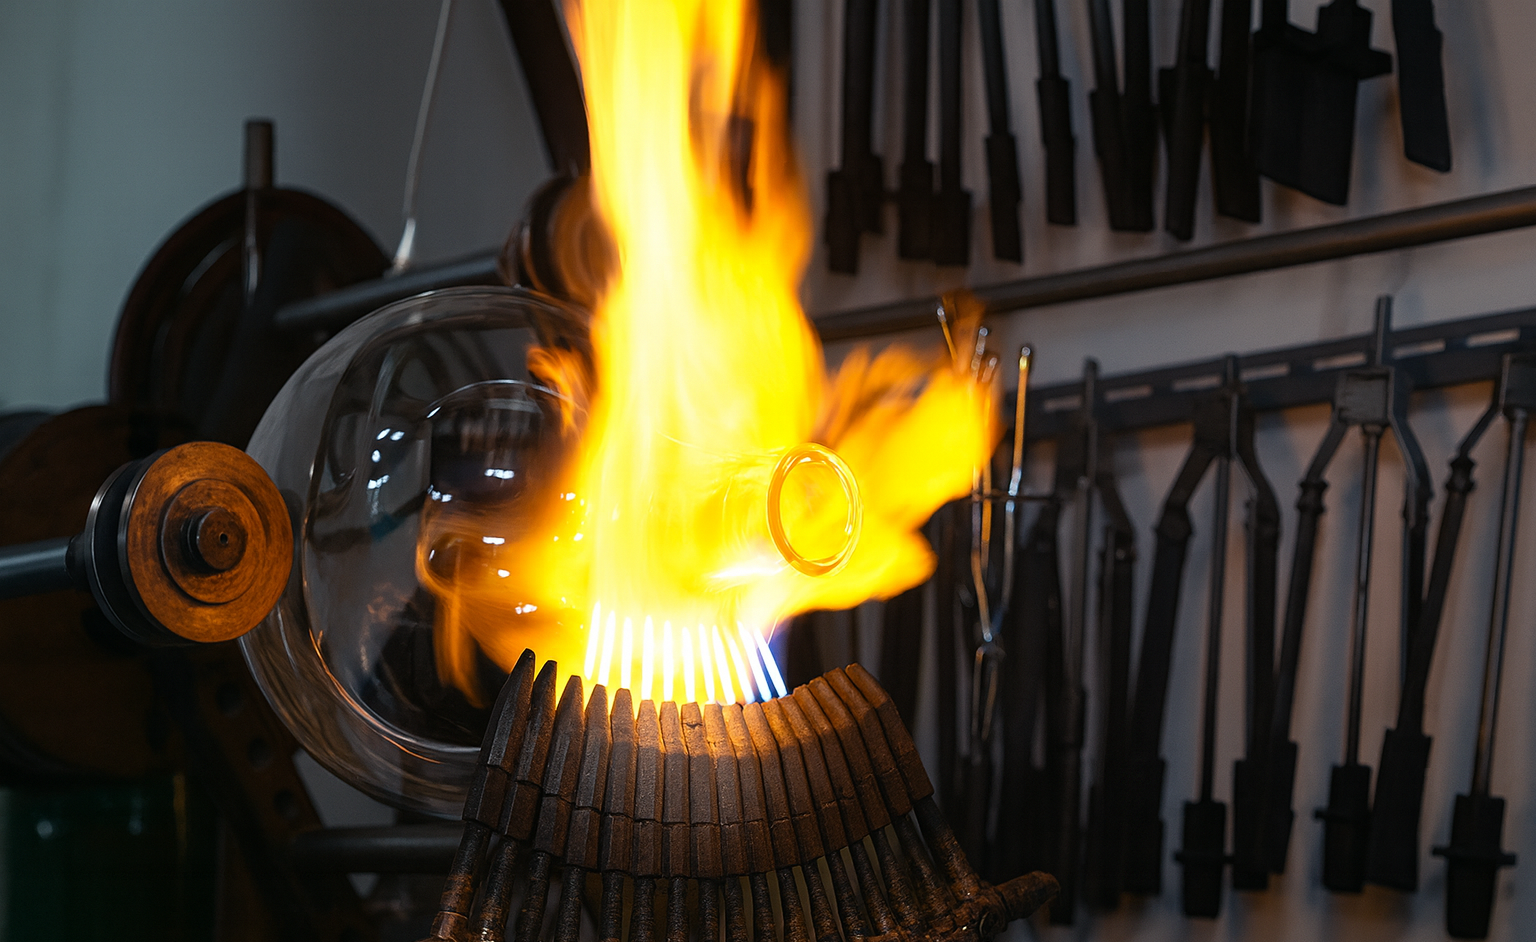
Most people first meet a ground-glass joint in the context of a finished piece of equipment: a condenser, a round-bottom flask, an adapter pulled from a drawer. The joint looks complete and inevitable, as if it has always existed in that shape.

But a ground-glass joint is not a given. It is something that has been formed, ground, corrected, checked and heated before it ever reaches your bench. To understand why some joints rotate with a soft, confident feel—and why others leak, grind, or seize—it helps to follow the joint back to where it begins.


How Ground-Glass Joints Are Made: From Glass Tubing to a Finished Joint

Process at a glance

Glass tubing
Forming the body
Coarse grinding
Fine grinding
Hand finishing
Cleaning & inspection
Stress relief & annealing
Assembled into apparatus

Every joint begins as a simple length of borosilicate tubing. Someone has to decide where on that tube the joint will live, and what kind of body will carry it: a socket on a condenser, a cone on a flask, a sidearm on a distillation adapter.

At the forming stage, a lampworker or forming specialist heats and shapes the glass. On a lathe, the tube turns slowly in the flame while tools coax it into shape. At a hand torch, the glassblower builds up a more complex piece step by step. The goal here is quiet but strict: the part of the glass that will become the joint must be straight, centered and aligned with the rest of the piece. If this is wrong, a later grinding machine can still cut a perfect 1:10 taper—but that taper will sit crooked, and you will feel it every time you assemble the apparatus.

Close-up of a scientific glassblower heating a borosilicate flask over a blue torch, with the glowing standard taper ground joint held in a graphite clamp.

Once the body is ready, the joint blank moves to grinding. In many scientific glass factories over the past few decades, the philosophy has been simple: let the machines define the geometry, and let human hands perfect the seal.

The first machine pass is a coarse grind. Most of the excess glass is removed and the familiar 1:10 taper starts to appear. Diameters move toward their target values, and gauges or reference tools begin to come out. A second, finer pass then refines this taper and nudges the joint firmly into the tolerance band required for interchangeable glassware. After these two passes, the joint is, on paper, “correct”: it has the right taper angle, the right length, the right diameters at the reference points. It will fit into any other joint of the same nominal size.

What it does not yet have is character. The surface may still carry tiny high spots, faint circles or spirals from the grinding path, and a texture that is technically within spec but not yet pleasant to use. This is where machines hand the work back to people.

A specialist whose job may be almost nothing but joints takes over. A small amount of fine abrasive—silicon carbide or diamond—is introduced. Using a master gauge or a trusted mating joint, the worker searches for those minute irregularities the machine left behind. The pressure is light, the motion controlled. The aim is not to carve a completely new geometry, but to push this already-interchangeable joint toward the best version of itself: more even contact, smoother rotation, fewer opportunities for leaks.

This is very different from the old practice of grinding one specific male and one specific female together until they only worked perfectly as a pair. Here, the standard is still interchangeability. The joint must continue to fit any matching size from the same line. Hand finishing simply makes that fit more forgiving and more reliable.

Behind the scenes there is another layer of specialization. In many factories, one person or one team focuses on semi-finished joints: they pre-shape the taper, run the coarse and fine machine passes, and carry out the final hand finishing. Their output is a box of joints that are dimensionally correct, well behaved, and ready to be attached to something. Those semi-finished joints then make their way to the lampworker’s bench. The lampworker does not “fix the joint”; they decide how it lives inside the final instrument—at what angle, at what height, and with how much stress locked into the glass around it. A good adapter or condenser is therefore a collaboration: the taper you feel between your fingers is the work of the joint grinder, and the way that taper lines up in the apparatus is the work of the lampworker.

After grinding and forming comes cleaning, inspection and annealing. Abrasive residues must be removed, both for safety and to prevent further uncontrolled wear. Dimensions and taper are checked again. Finally, the piece passes through an annealing cycle that relaxes internal stress. Only then is the joint truly ready to face heating, cooling and mild vacuum in someone else’s lab.


How to Fix Common Ground-Glass Joint Problems in Everyday Lab Use

All of this factory work collapses, at the bench, into a few very simple questions: does this joint seal, does it turn smoothly, can I trust it in a setup that matters? The answers still come from the way the joint was formed, ground, finished and annealed—but in everyday use you mostly meet those decisions as small annoyances: a joint that always needs more grease, a condenser that tends to weep under mild vacuum, a flask that never quite feels “right”.

One of the main places where this shows up is the surface texture of the taper. A machine-ground surface, especially one produced with fixed-abrasive diamond wheels, tends to have directional marks: faint rings, shallow spirals, very fine ridges. When the process is well tuned, these marks are shallow and regular enough that they behave well. When it is not, they can become tiny leak paths, especially under vacuum, like microscopic threads running through what ought to be a seal.

Hand finishing breaks up this pattern. By removing small high spots and introducing a more random, finely frosted texture, it increases both the effective contact area and the tolerance of the joint to small imperfections. This is why two 24/40 joints can both be interchangeable and technically “within spec”, yet one feels immediately trustworthy and the other demands more grease, more force and more patience.

You can sense a lot of this with your own eyes and fingertips—how even the frosting looks, how clean the rim is, whether the taper feels straight when you sight along it, whether the joint seats with a quiet, controlled turn or with scratchy, hesitant movement. In Part 1 of this series we looked in detail at how to judge a good joint at a glance. Here, we will stay closer to the production side and look at what you can safely do at the bench when a joint is “almost good enough”, but not quite.

Factory-style fixes you can safely do at the bench

There are a few small, very controlled adjustments that borrow directly from factory practice. They will not turn a truly bad joint into a good one, but they can gently push borderline pieces back into the “reliable enough” category for routine work.

The first is the one that feels most like bringing the final finishing step back to your bench: using an extremely light lapping action to refine the surface.

PRACTICAL LAB TIP

Reviving a “tired” ground-glass joint

In everyday lab life you may inherit older glassware, or combine pieces from different manufacturers, and discover that a particular pair of joints always seems to be on the edge of leaking. If there are no cracks, no serious chips and no obvious distortion, you can sometimes improve their behaviour with a very gentle hand-lapping step.

How to do it:

  • Use a fine or extra-fine valve-grinding or lapping paste.
  • Apply a tiny amount to the taper.
  • Seat the matching joint and rotate slowly with light pressure.
  • Clean both pieces thoroughly to remove all abrasive, then test the fit.

The goal is to refine the surface, not to change the size or the taper angle. This kind of user-side lapping can help slightly worn or mixed-brand joints become more reliable, but it will not save joints with cracks, deep chips, badly distorted geometry or hidden stress — those are better retired than “rescued”.

A closely related trick is to deal with shiny, polished patches that sometimes appear on older joints. After years of use, grease and cleaning, a small area of the ground surface can become almost clear again. Under vacuum, that bright patch tends to behave like a tiny leak-prone island.

If the glass is otherwise sound, you can treat just that area with the same kind of very fine lapping paste, working gently over the whole taper so you do not create a step. The aim is not to “regrind” the joint, but simply to bring the surface back to a uniform, fine frost so the contact pressure redistributes. Once the bright spot has disappeared and the texture looks even again, you stop, clean thoroughly, and test. Very often, that is enough to move a marginal seal into the dependable range for routine work.

There is one more adjustment that comes straight from how glassworkers think about stress. A tiny chip right on the outer rim of a joint is more than a cosmetic flaw: it is a classic stress concentrator. In the factory, sharp edges are often given a slight chamfer to keep cracks from starting there.

At the bench, for very small chips at the outer edge only, some glassworkers will use a fine diamond file or stone to put the slightest, smooth radius on the damaged spot. The goal is again not to make it pretty, but to soften a razor-sharp edge into something less likely to grow into a larger crack the next time the glass is heated or knocked. This kind of micro-chamfer is only worth attempting on superficial damage far from the sealing area, and only for non-critical work. Anything deeper, closer to the ground surface, or associated with visible cracks is better retired than repaired.

These factory-style tweaks live right at the border between manufacturing and everyday use. If you are mainly worried about how to live with ground-glass joints in daily lab work—how to clean them without polishing the surface away, when and where to use grease, and what to do when a joint has seized completely—those belong to a different part of the story. On ChemNorth we cover those questions in two separate, practical guides:

Together, these small, factory-style adjustments sit in a narrow but useful space: they do not turn a fundamentally bad joint into a good one, but they can nudge a borderline piece back into the “reliable enough” category for everyday tasks—while the detailed “user-side” handling lives in those dedicated how-to articles.


Key Takeaways for Choosing and Using Ground-Glass Joints

If you prefer to think in checklists, you can summarize a good joint’s story in a single line:

formed straight → ground to the right taper → hand-finished for behaviour → cleaned, inspected and annealed → welded into the final piece without bending it

When you pick up a well-made joint, all of that is already behind you. What you are left with is the experience at the bench:

  • some joints seal beautifully with very little grease;
  • some grind, seize or leak even though the markings on the glass look right;
  • some pieces from high-end suppliers feel strangely “calm” in the hand compared with budget sets;
  • some joints survive years of heating and cooling, while others crack when pushed only a little.

None of this is random. It is the accumulated result of choices made at each stage from glass tube to finished joint.

In the first article of this series, we looked at why ground-glass joints are everywhere in organic labs and how to judge a good joint at a glance. In this second part, we have followed a joint back through forming, grinding, hand finishing and assembly to see how it becomes what it is.

The next natural question is about the numbers you see etched on the glass:

what do 14/20, 19/22 and 24/40 actually mean, and how should you think about size when you choose or design a setup?

That is the topic of the next article in this series.

👉 Read the next article:
Understanding Ground-Glass Joint Sizes: What 14/20, 19/22, and 24/40 Really Mean

Why Ground-Glass Joints Are Everywhere in Organic Labs — And How to Judge One at a Glance

An entry-level guide for students stepping into the organic lab for the first time.

On your first real day in an organic lab, you probably won’t start with NMR or a Schlenk line. You’ll start with something that looks almost boring: putting together a reflux setup.

A round-bottom flask on a heating mantle, a condenser on top, maybe a drying tube or a gas inlet, sometimes a dropping funnel on the side. You line them up on the bench and then—click, click, click—they all press together through those frosted connections.

No rubber stoppers. No tape. No hose clamps holding glass to glass.

The whole apparatus stands there as one piece: heated, sealed, able to run for hours, and still easy to take apart and clean afterward. The quiet hero making this possible is the ground-glass joint.

If you’re going to spend any serious time in an organic lab, learning to “read” a joint with your eyes and your fingertips is almost as important as learning to read a spectrum.


Why ground-glass joints are everywhere in organic labs

Close-up of an organic chemistry distillation setup showing flasks, a condenser and a thermometer connected with standard taper ground-glass joints secured by red Keck clips over a water bath.
In a typical organic lab, almost every connection—from flasks to condensers to thermometers—is made with standard taper ground-glass joints.

If you stop for a moment and look around, you’ll notice something: organic labs are full of standardized glass. Almost every joint you touch will have a marking like 14/20, 19/22, 24/40. Those numbers are not decoration. They are the reason glass from different manufacturers can click into the same setup.

A 24/40 flask from one brand, a 24/40 condenser from another, and a 24/40 adapter someone rescued from the back of a cabinet—if the joints are properly made, they will fit. That standardization is what lets a lab grow piece by piece over years without turning into a pile of incompatible parts.

There is another reason ground-glass joints dominate organic labs: sealing and safety. The frosted surface is not just there to look “lab-like”. When two well-made joints are pressed together:

  • They form a reasonably gas-tight seal, even without grease, good enough for most routine refluxes and many inert-atmosphere experiments.
  • With a thin film of grease and good glass, they can tolerate mild vacuum and long heating periods without the joint creeping open.

Compare that with rubber stoppers. Rubber can swell, crack, or slowly dissolve in strong acids, bases, or organic solvents. A stopper that looks fine at the start of the semester can suddenly become soft, gummy, or leaky halfway through the term. Glass, by contrast, is chemically resistant, heat-tolerant, and dimensionally stable. Once you’ve pressed a good set of joints together, you can mostly stop worrying about the connection and focus on the chemistry.

There is also a very simple, everyday reason: cleanup. Organic reactions leave behind oils, polymers, crystals stuck in corners, and the occasional mysterious brown film. A setup built with ground-glass joints can be taken apart with a gentle twist, piece by piece, and every surface is accessible to brushes, rinses, and the dishwasher or ultrasonic bath. Try doing that with a single flask sealed tightly with a rubber stopper and a glass tube jammed through it—you quickly end up fighting the hardware instead of cleaning it.

All of this adds up to one idea that is easy to forget once you get used to it:
ground-glass joints are what make organic apparatus both modular and trustworthy.


How to judge a ground-glass joint at a glance

Two ground-glass joints shown in close-up: the upper joint has an even frosted surface, while the lower joint shows scratches and shiny worn areas that can leak or seize.

Once you see why they are everywhere, the next step is learning how to tell a good joint from a risky joint just by looking and feeling.

When you pick up a joint, let your eyes go to the frosted zone first. A reliable joint usually has a smooth, even, matte surface. The frosting should be fine and uniform, without deep grooves, bright shiny patches, or obvious pits. If you see a long scratch, a “track” running around the surface, or a polished area where the frost has been worn away, that is a sign the joint has been abused or heavily used. It may still work for a simple, open-to-air setup, but you should hesitate before trusting it on a vacuum line or in a tall, fragile column.

Next, look at the shape of the taper. Hold the joint at eye level and sight along it, as if you were judging whether a glass rod is straight. A well-made joint will have a clean, straight cone: no bulges, no sudden changes in thickness, no “bent waist”. If one end is noticeably thicker, or the taper looks slightly crooked, that mismatch can lead to uneven contact when it is paired with its mate. In mild cases, it just feels awkward. In worse cases, it can concentrate stress and make breakage under vacuum more likely.

After you have looked, you should test it with a real fit. This is where your hands take over from your eyes. Take a matching joint—female to male or male to female—and gently press them together while giving a small twist. You’re looking for a very particular feel:

  • The rotation should be smooth, with no grinding or catching.
  • When seated, the joint should not wobble or rattle if you nudge it.
  • At the same time, it should not seize so tightly that you are afraid to pull it apart.

A good pair of joints will meet, slide, and then “settle” into place. Even without grease, gravity alone should be enough to keep a condenser sitting neatly on top of a flask when the setup is vertical and undisturbed.

On the other side of the spectrum are joints you should treat with caution from the moment you see them. Some warning signs are obvious even from across the bench: chips, cracks, and missing chunks at the rim of the joint. Even small chips at the edge are more than cosmetic. They can create leaks, because the seal is no longer continuous; stress concentrators, where force focuses onto a tiny region; and weak points under vacuum or thermal shock, increasing the risk of sudden failure.

Other warning signs are more subtle: frosting that has become chalky white and rough after years of harsh cleaning, or a joint where parts of the frosted band have turned glassy and shiny. Those bright spots often mean the contact area has been polished away by wear, so less of the surface is actually doing the sealing. For a gentle reflux at atmospheric pressure, you might get away with it. For extended vacuum distillation, it is asking for trouble.

Over time, a simple little ritual can train your hands and eyes to catch problems early.

Quick checklist for judging a ground-glass joint

 Once you start using this checklist as a habit, the whole process becomes almost automatic. You reach into a drawer, your fingers close around a joint, and one quick glance plus a half-turn test tells you if it is a friend or a problem. That quiet, almost unconscious judgment is part of what separates someone who merely uses glassware from someone who really understands it.

When that starts to feel natural, you’re ready for the next step: building complete apparatus from these joints—confidently, safely, and with the calm feeling that the glass is on your side, not working against you.

 Next in the series

If this is your first time really paying attention to ground-glass joints, the next natural question is: how are these joints actually made? That smooth taper and fine frosted surface aren’t born in the furnace – they’re shaped step by step, from forming the glass body to grinding, checking, cleaning, and careful annealing.

In the next article, we’ll walk through that journey from glass tube to finished joint, and show how each stage of the process leaves subtle fingerprints you can see and feel on the final piece.

👉 Read the next article:
How Ground-Glass Joints Are Made — From Blowing and Grinding to Annealing