Laboratory Condenser Selection: Don’t Let It Become the “Bottleneck” of Your Experiment
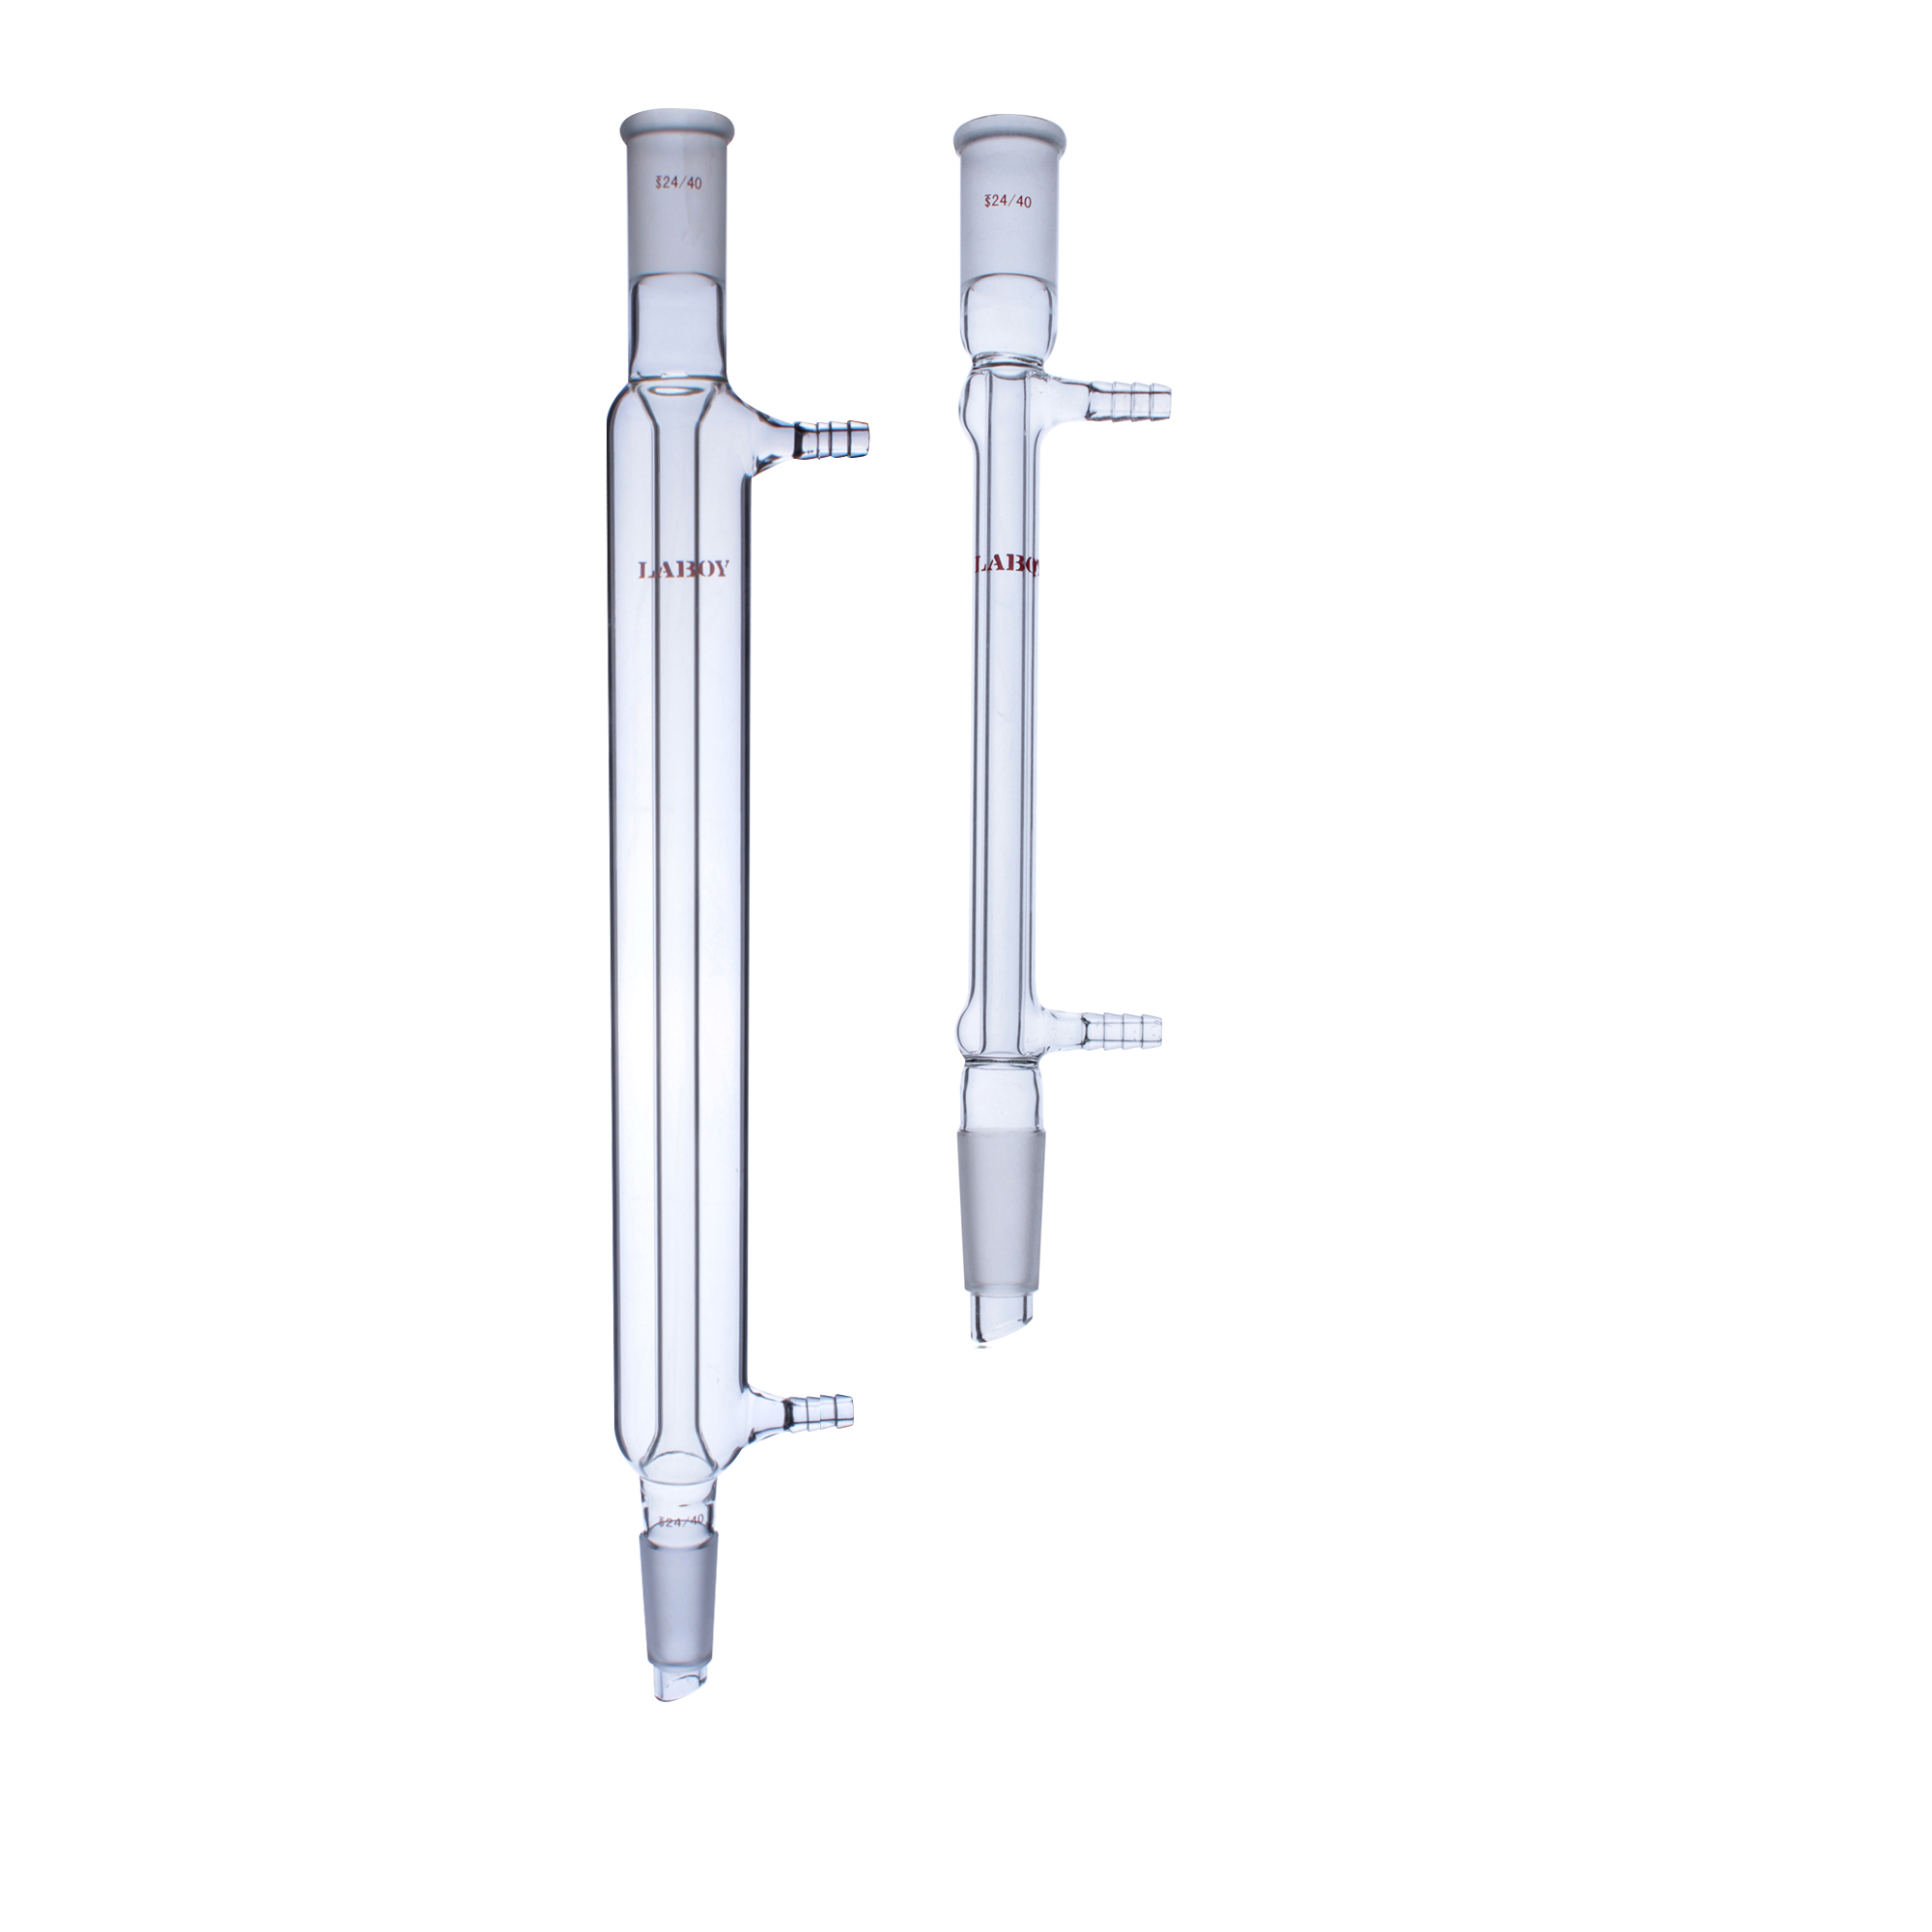
Is your reaction vapor “stuck” or are you losing precious solvent? 20-year master glassblower Zoe W explains why your condenser might be the hidden bottleneck in your lab and how to pick the perfect one for your chemistry.